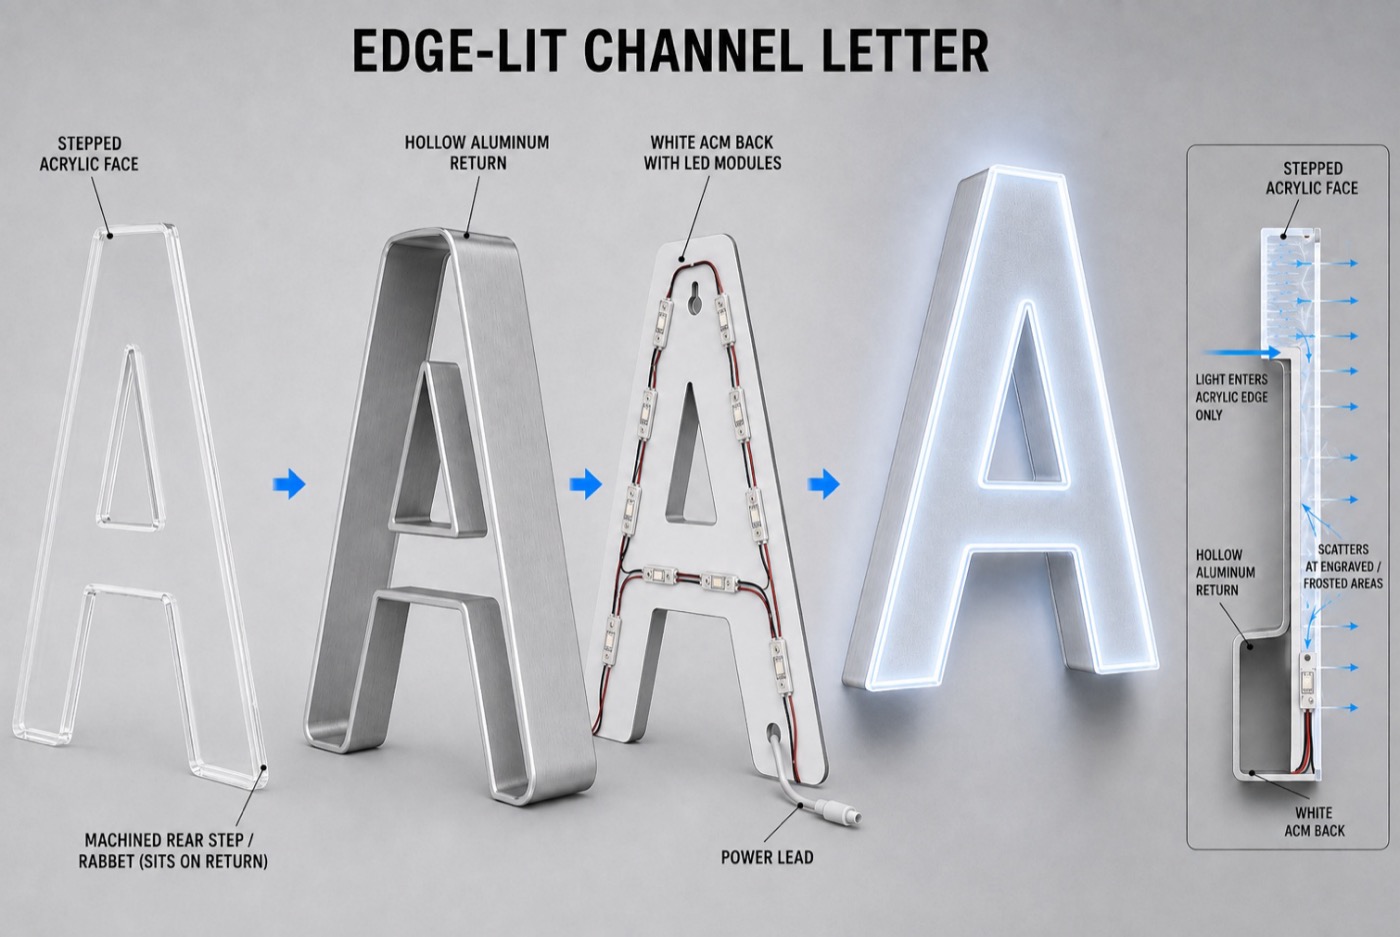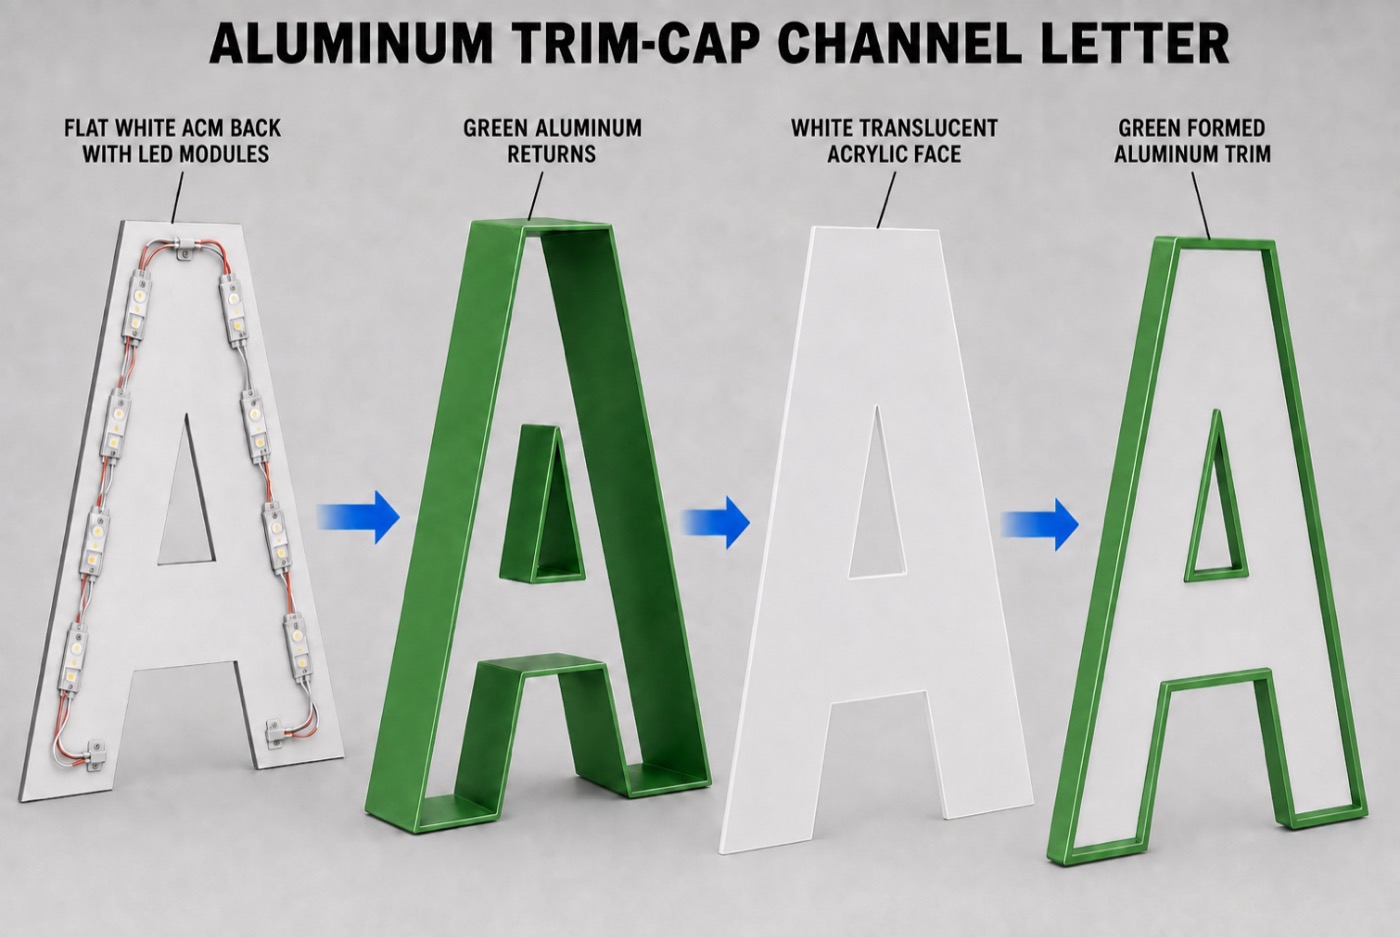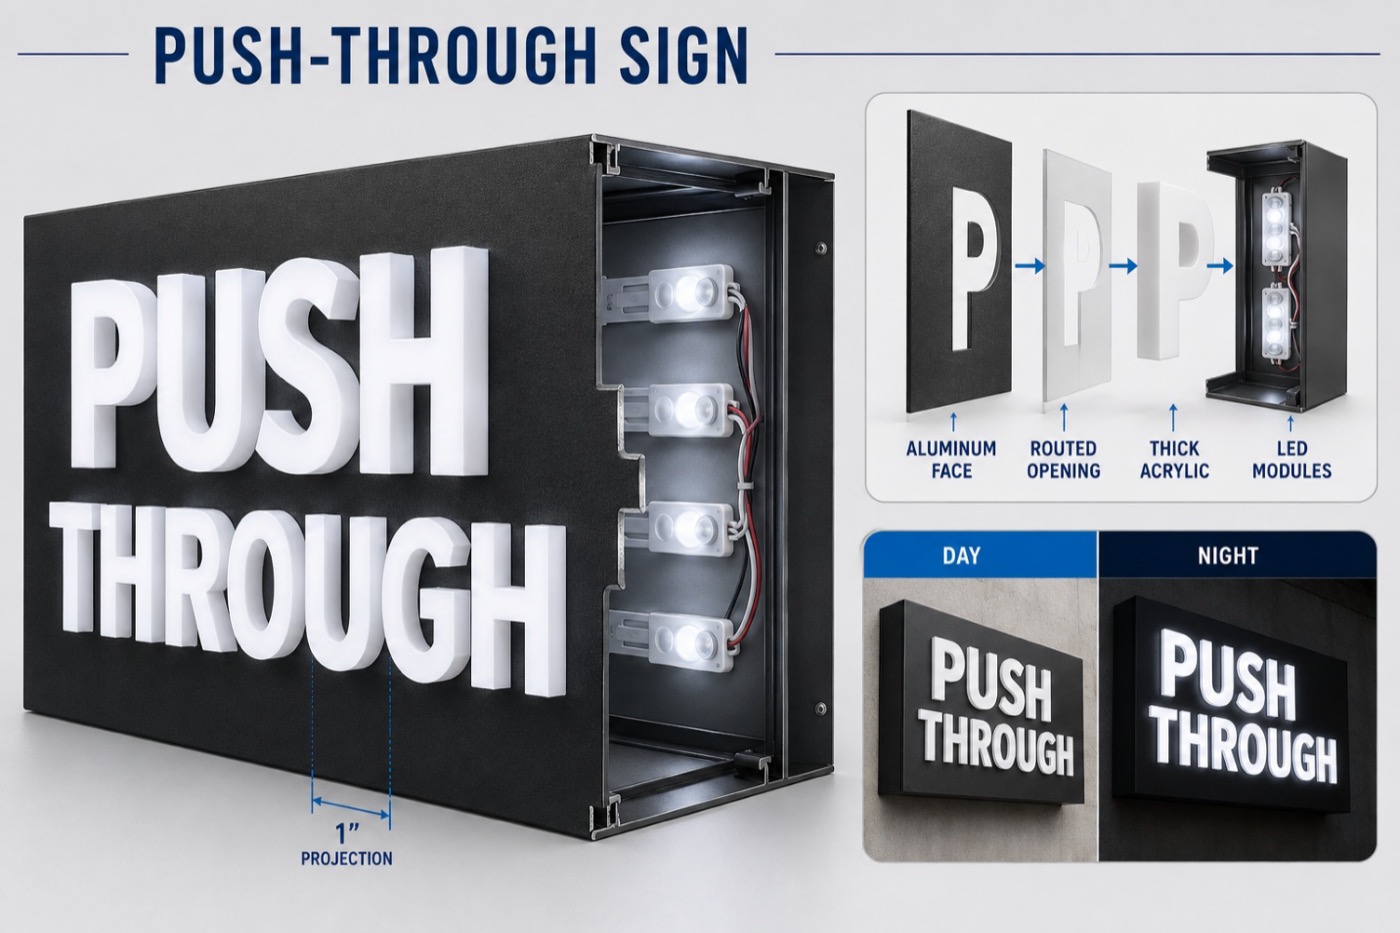

A photograph can show you where a sign belongs. It rarely shows what's going to hold it there. A smooth lobby wall might have nothing behind it where the letters need to mount. A brick storefront might be a thin veneer with a cavity behind it. A clean-looking glass panel might carry a film that changes how an adhesive performs.
We build with the installation in mind, so for the sign companies we work with, accurate site information is what connects an approved design to a mounting plan that works. The wall material, its condition, and the structure behind it can change everything from stud locations to stand-off depth to how the wiring is routed. The situations below are common ones in the field. They're illustrations, not accounts of specific Wholesale Sign Pro installations.
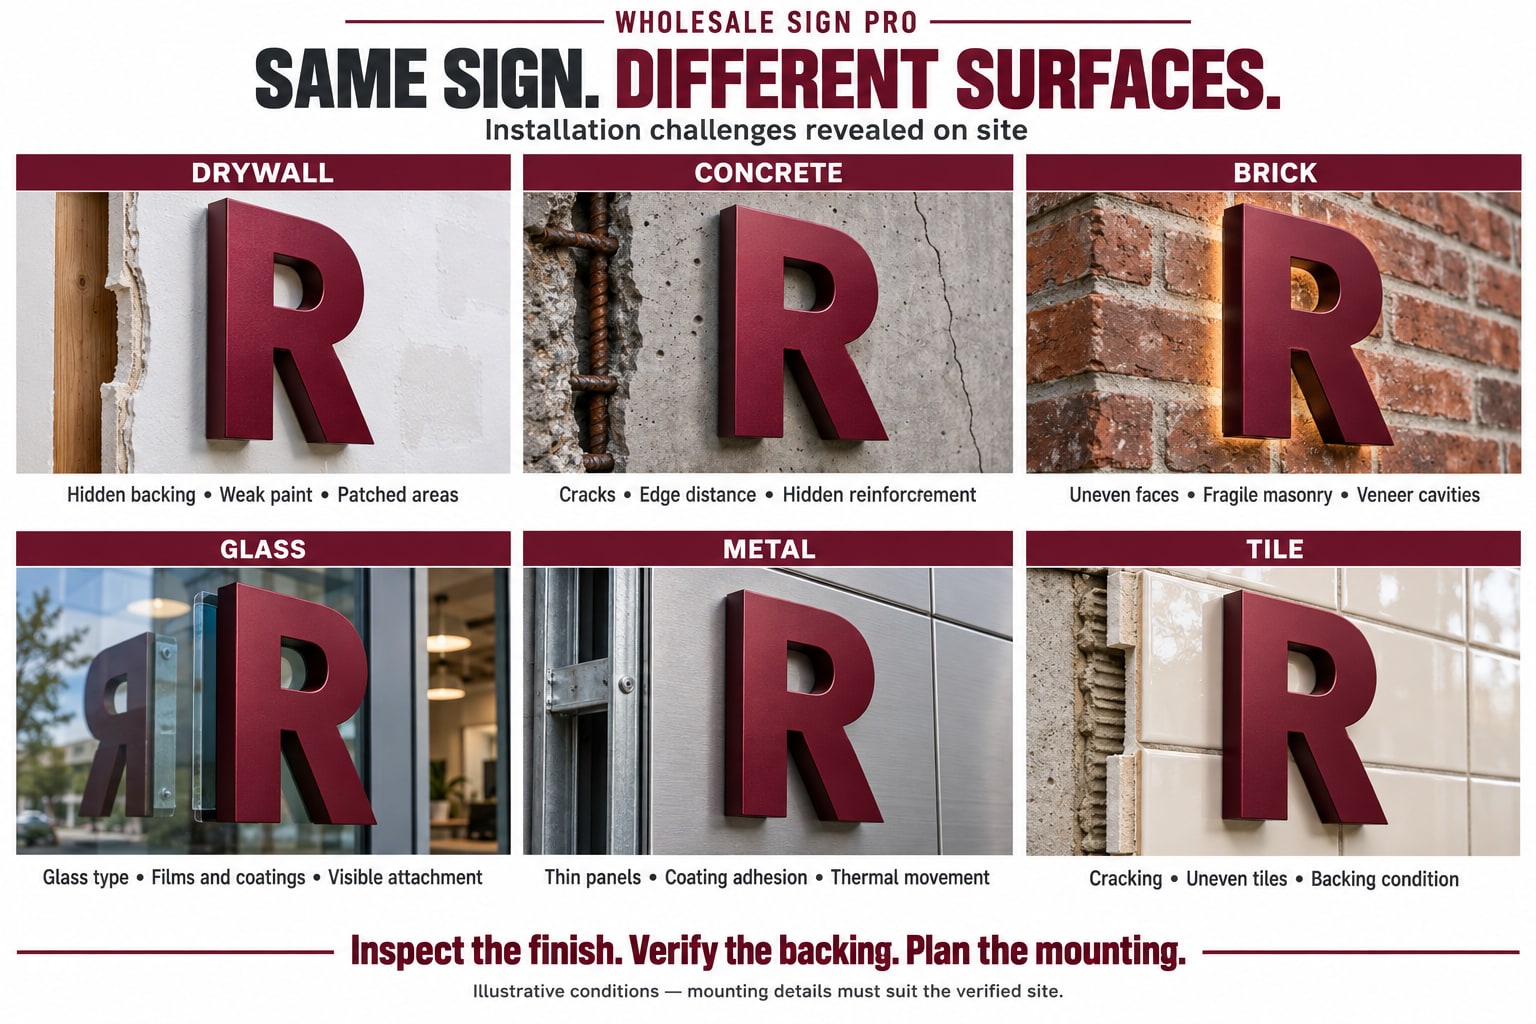
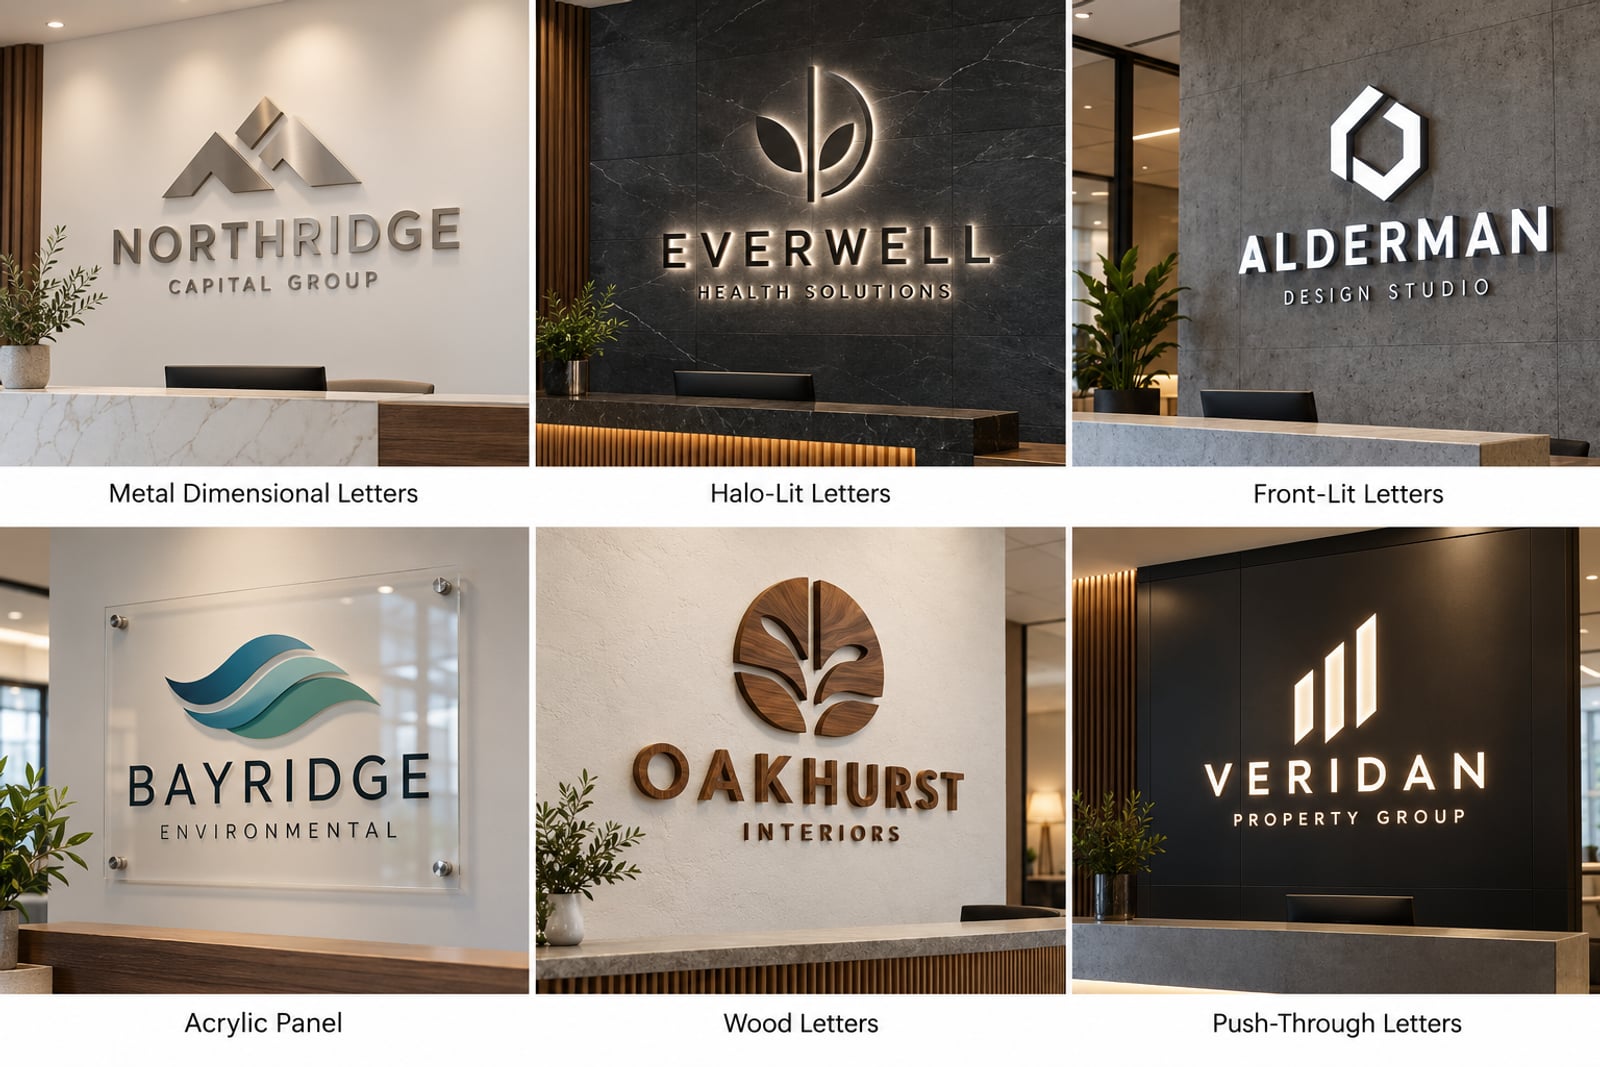
Illustration: the same letter on six common surfaces. Mounting details must suit the verified site.
The Surface Is Not the Structure
Before you pick hardware, separate what you can see from what actually carries the load. Paint, tile, thin metal cladding, and brick veneer can sit over very different wall assemblies. The sign's weight matters, but so does how far it projects from the wall (a blade sign is the extreme case), the mounting geometry, and, outdoors, wind exposure.
A good on-site survey establishes the wall construction, the backing available, the surface condition, access, and where the penetrations would go. If the assembly is still uncertain after that, the mounting design needs more investigation. It shouldn't be settled by how the wall looks.
Drywall: The Studs Are Rarely Where the Drawing Wants Them
Drywall looks simple until the mounting pattern lands between studs. Renovations can leave patched openings, several layers of board, or metal framing where you expected wood. A wall that feels solid can still have nothing suitable behind it for a projecting sign.
Picture a set of dimensional lobby letters centered above a reception desk, with several mounting points falling on unsupported board. The layout has to be coordinated with verified framing or backing before production. Depending on the design, a mounting panel or rail can spread the attachments out better than individual fasteners.
For lightweight signs, a hollow-wall fastener can be appropriate, but only when its published limits match the actual wall and the actual load. Heavier or projecting signs may need structural backing. Adhesive depends on the finish too: if the paint lets go of the wall, the sign comes with it.
On site, check the board thickness and condition, where the framing and backing are, any wall repairs, paint cure requirements, and hidden services near the proposed holes.
Concrete: Strong Material, Variable Drilling Conditions
Concrete can give you a substantial base, but its condition and geometry decide whether a given anchor is suitable. Cracks, spalling, thin sections, edges, and old holes all change the plan. A wall that looks like concrete may turn out to be block, or a finish applied over something else.
Say a cabinet's mounting hole falls close to an edge while another conflicts with reinforcement. Moving holes in the field affects the bracket layout and how the load is distributed, and those conflicts are far easier to settle before the sign and its mounting system are fabricated.
Confirm the base material and how thick it is, then select anchors using the manufacturer's data and the project's design requirements. Hole preparation, installation torque, and adhesive-anchor cure conditions all depend on the product. In reinforced or post-tensioned construction, scanning and approval have to be coordinated before anyone drills. Never cut reinforcement or tendons to make a mounting pattern fit.
Brick: Uneven Faces and Hidden Wall Assemblies
Brick gives a storefront texture, and that texture is what makes it tricky. Individual faces can project by different amounts, mortar joints can deteriorate, and older brick can be cracked or fragile. Solid masonry, hollow brick, and brick veneer each call for different mounting thinking.
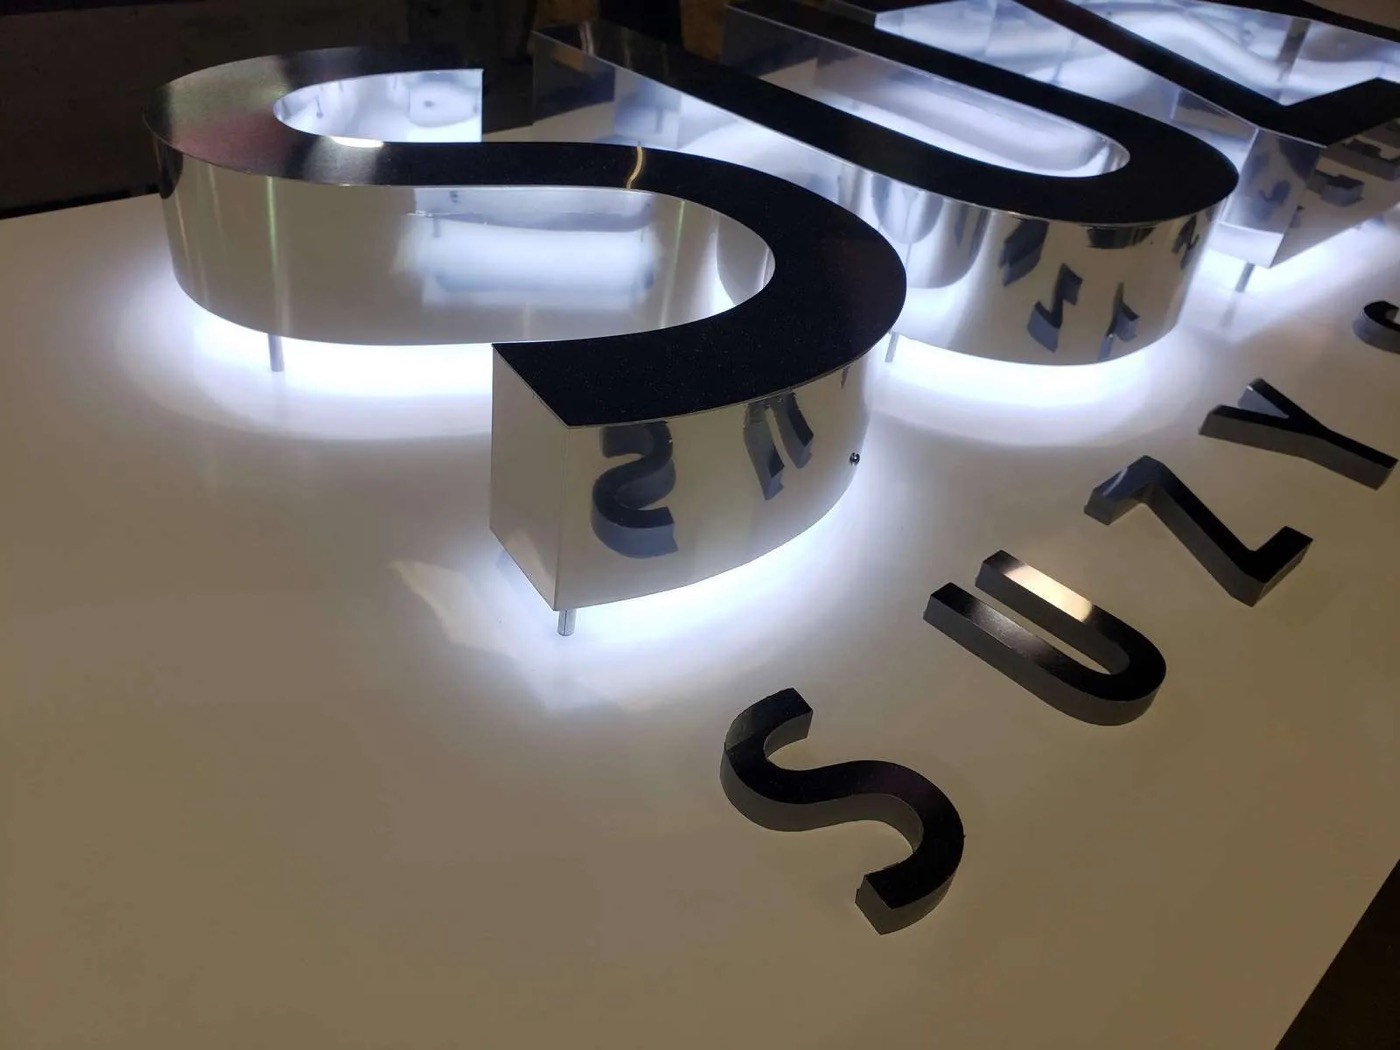
Imagine a long row of halo-lit letters crossing several high and low brick faces. Stand-offs of equal length don't automatically give an equal distance from the wall, so the letters can look uneven and the halo can change across the row. Check the wall profile across the whole sign area and coordinate approved spacers or mounting adjustments.
Verify the wall assembly and whether the anchor suits it. Neither a brick face nor a mortar joint is a universal fastening point, and a veneer may need a mounting detail that carries the load back to verified structure behind it.
Illuminated letters add a visual wrinkle, because brick color and texture change the result. A rough, dark surface produces a different halo than the smooth white wall in the rendering.
Glass: Transparency Makes Every Detail Visible
Glass needs early coordination, because the mounting method, the adhesive footprint, and the wiring can all be seen from both sides. The panel might be tempered, laminated, coated, tinted, or covered in film, and a bonding system that works on one surface may not work on another.
Consider dimensional letters that look clean from the entrance, while the adhesive pads and unfinished backs are obvious from inside the lobby. The design has to account for that second view before fabrication.
Identify the glass type, any surface treatments, and glazing restrictions with the glazing supplier. Don't plan on field drilling into tempered glass. A bonded attachment needs a system validated for the actual glass surface, sign load, environment, and application conditions, and you should confirm whether the bond is to the glass itself or to a coating or film.
Plan cleaning, preparation, application temperature, pressure, and time before loading according to the adhesive manufacturer's instructions. Think about future removal, what shows through the panel, and any proposed attachment to glazing frames.
Metal: The Coating and Panel Thickness Can Decide the Outcome
"Metal wall" isn't enough information for a mounting detail. Steel, aluminum, stainless steel, thin sheet cladding, and composite panels all behave differently. The visible panel may flex, and its fasteners may never have been designed to carry an additional sign.
Suppose a bracket sits tight against a metal facade, but the panel deflects once the sign is loaded. The attachment has to reach verified support instead of relying on the skin alone.
Inspect the panel thickness, support locations, corrosion, coatings, and movement joints. Adhesive performance depends on how well the coating adheres, not just on the bond to its surface. Mechanical attachments need proper load transfer, weather sealing, and compatible materials to keep corrosion in check.
Outdoors, allow for thermal movement and don't casually bridge facade movement joints. Proposed penetrations should also be coordinated with the building owner and the facade requirements.
Tile: The Finished Face Is Only One Layer
Ceramic and porcelain tile look like an ideal smooth surface, but the assembly behind them may include adhesive, backer board, drywall, or masonry. A tile can have a poorly bonded area or a void behind it, and a glossy finish tells you nothing about load capacity.
Take a mounting hole that lands near a tile edge, and the tile cracks during drilling. Even a clean hole doesn't prove the assembly underneath can carry the sign.
Confirm the tile type, its condition, the backing, and any waterproofing before choosing a drilling and fastening method. Use tooling and procedures made for tile, and avoid overtightening, which concentrates pressure on the face. Where the mounting design calls for it, transfer the load into suitable backing or structure.
Bonded signs need compatibility with the glaze, any surface treatments, and cleaning residues. Grout lines and slight height differences can also reduce contact area or leave letters sitting unevenly.
Site Variables That Change All Six Surfaces
A few conditions matter no matter what the wall is made of:
- Check flatness across the whole sign footprint, not at a single point. Bowed walls and raised joints change letter alignment and stand-off clearance.
- Look at the surface condition. Dust, moisture, grease, sealers, loose paint, and uncured coatings can all compromise attachment, and a surface that looks clean may still need preparation or testing.
- View the wall from the positions where people will actually see the sign. Grazing light shows wall defects, and halo lighting makes changes in texture and spacing more noticeable.
- Locate the power supply, the wire route, and service access before illuminated signs are finalized, and coordinate penetrations, connections, and weather protection with the right trades.
- Confirm lift placement, door clearances, operating hours, pedestrian control, and access behind the wall. A mounting detail that works still needs an installation sequence that works.
What to Send Us Before Production
A useful survey has wide and close-up photographs, verified dimensions, the wall profile, and the exact proposed sign position. Include the visible substrate, any known wall layers, where backing is, how far the sign projects, and any limits on drilling or adhesives.
For illuminated work, add the power and wiring locations, service access, and anything you've noticed about the wall's color and texture. If the substrate or backing is unknown, say so plainly, so it gets resolved before the mounting pattern is finalized.
Share your site findings with us while the project is still in design. That lets us coordinate fabrication details with your installation plan, from mounting locations and stand-offs to wire exits and visible finishes. If a project falls outside your crew's service area, we can also help you find a professional installer near the site through our installation network.
A good installation starts with a sign designed for the wall that's actually there. Send us your artwork, dimensions, and site survey, and we'll help get your next project ready for fabrication.
Final mounting and electrical details must suit the verified site conditions, applicable requirements, and product instructions. This article doesn't specify anchor capacities or a universal attachment method.
Technical References
- 3M: Surface Preparation for 3M VHB Tape Applications
- Hilti: Product Technical Guides, including anchoring and fastening
Sign Installation FAQ
Why does the wall material matter if the sign design is already approved?
The approved design shows where the sign goes, not what will hold it there. The wall material, its condition, and the structure behind it affect mounting locations, stand-off depth, and electrical routing, so the mounting plan has to be matched to the wall that's actually there.
Can a sign be mounted by drilling into tempered glass?
Field drilling into tempered glass shouldn't be planned. A bonded attachment needs a system validated for the actual glass surface, sign load, and environment, and the glass type and any films or coatings should be confirmed with the glazing supplier.
What should I send my wholesale manufacturer before production?
Wide and close-up photographs, verified dimensions, the wall profile, the exact proposed sign position, any known wall layers and backing locations, how far the sign projects, and any limits on drilling or adhesives. For illuminated signs, add power and wiring locations and service access.
Does Wholesale Sign Pro install signs?
Installation is optional and quoted separately from fabrication. If a project falls outside your crew's service area, we can help locate a professional installer near the site, and sign companies with their own crews aren't required to use our network.