
A customer rarely asks about LED spacing or face transmission. They want to know whether the new sign will look good at night. Will the name stand out? Will every letter light evenly? Will the colors look the way they expected?
Those are the questions worth settling before an order goes into production. When you work with us on illuminated channel letters, a few details about the job help us get much closer to the result your customer has in mind.
Start With the Location
Send us a photo of the building and tell us where the letters will go. A storefront surrounded by bright signs calls for a different discussion than a business on a quiet, dark street. Mounting height, viewing distance, and nearby lighting all help us understand the setting.
If the landlord has sign criteria, or the customer has an approved sample, send those with the order. It's much easier to work toward an agreed appearance than to interpret "make it bright" after the sign is installed.
Look for an Even Glow
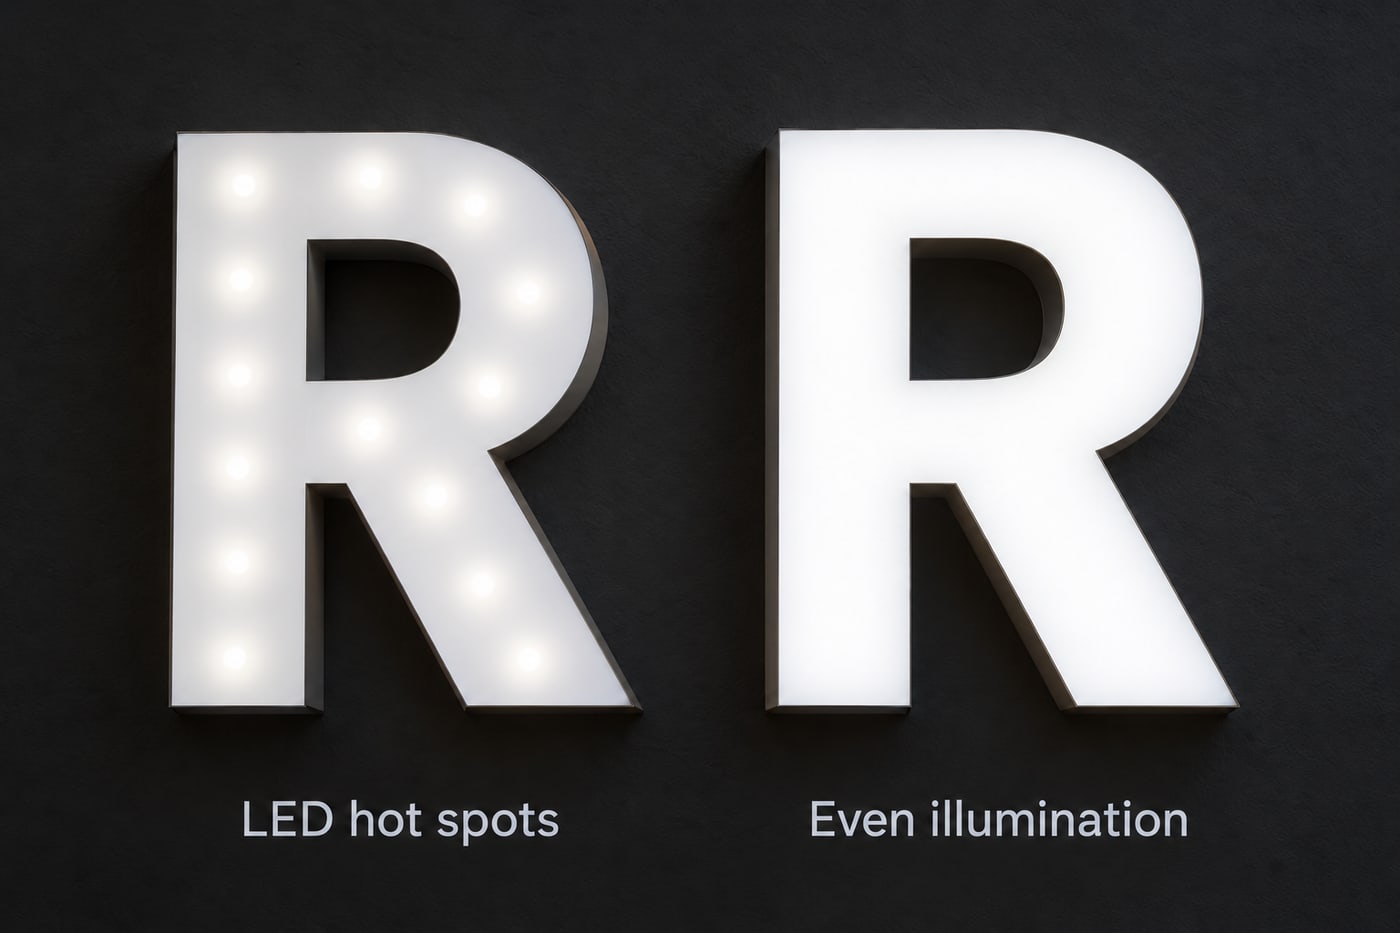
A sign can be bright and still look uneven. LED dots showing through the face, dark corners, or one letter that looks weaker than the rest can spoil an otherwise well-made sign.
Letter depth, stroke width, module optics, and LED placement all affect the result. A shallow letter needs a lighting layout suited to its construction, and adding more LEDs doesn't automatically fix a distribution problem. The aim is a smooth, consistent look across the whole name. Our guides to choosing the right LEDs, return depth, and eliminating LED hot spots go deeper on each piece.
Approve the Finished Face Material
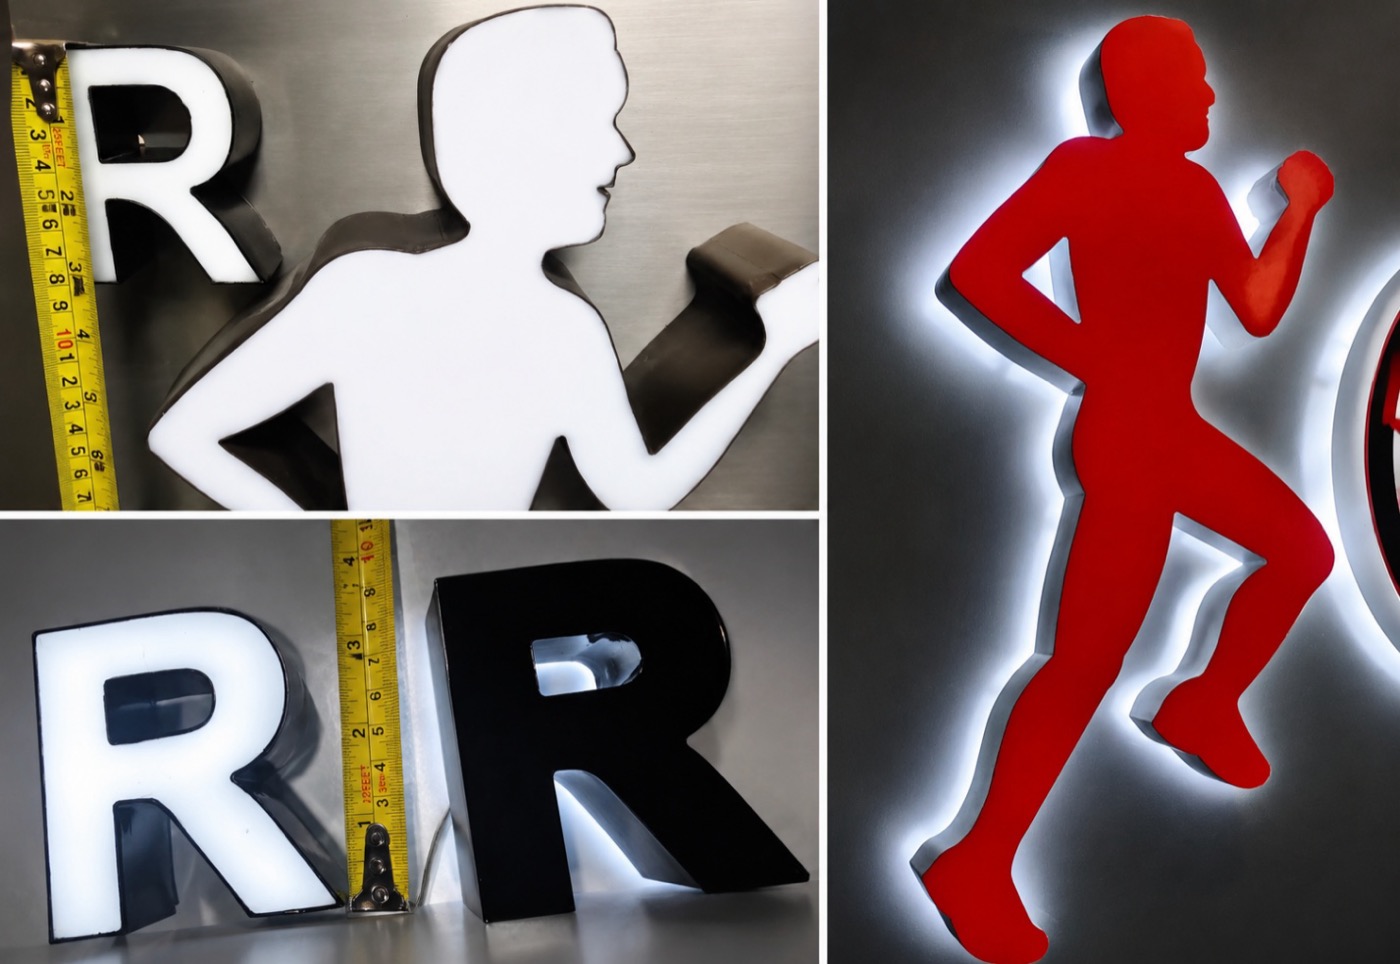
The face is part of the lighting system. Acrylic color, diffusion, and applied vinyl or printed graphics all change how much light comes through and how the sign looks at night. A plain white sample won't show you how a finished colored logo will appear.
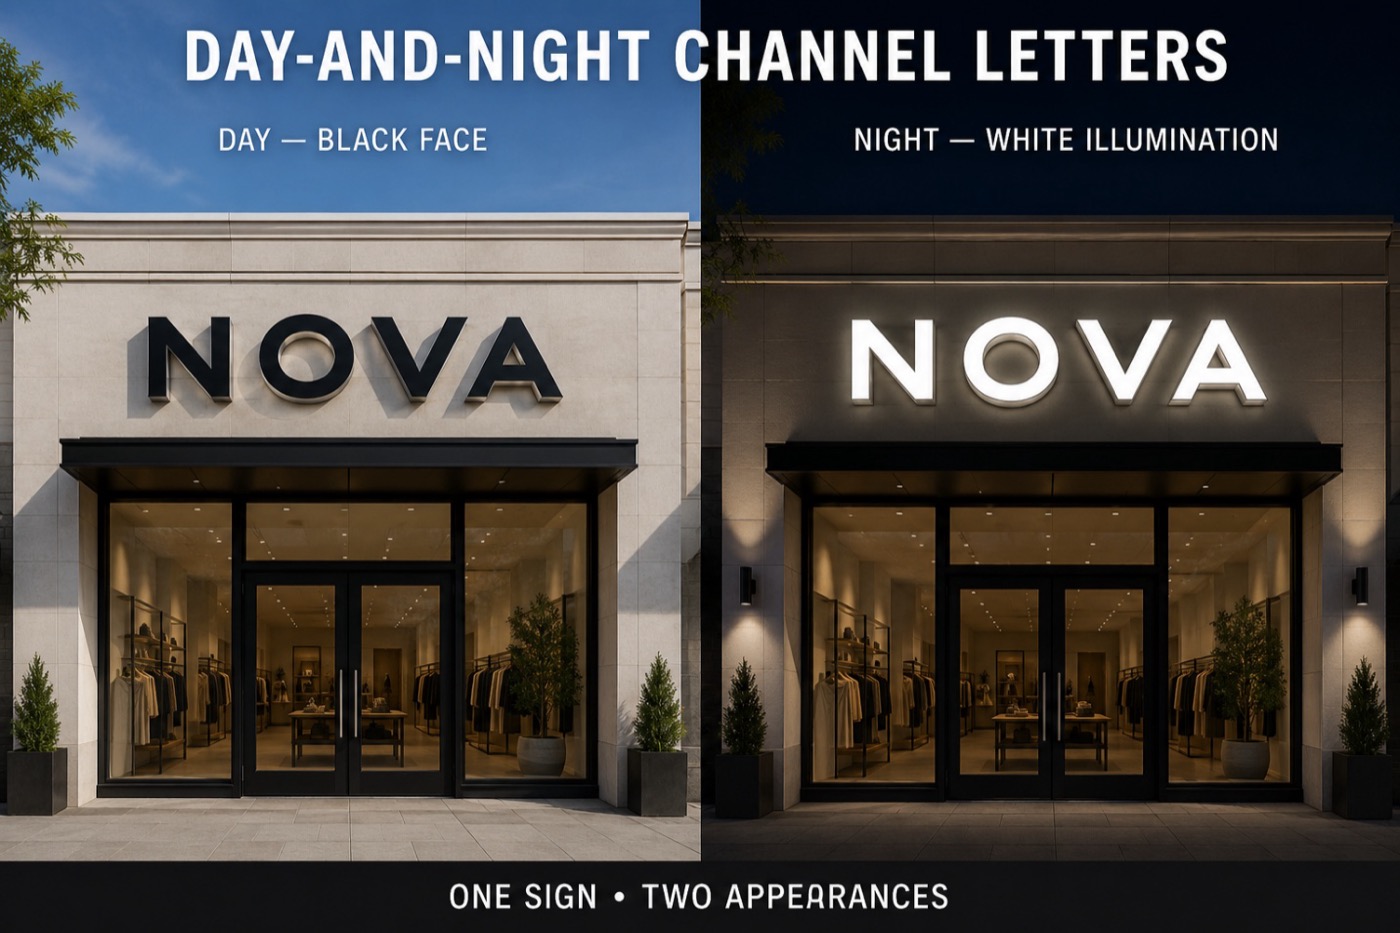
For a demanding color match or an unusual design, talk to us about a sample made with the actual materials. If you're matching an existing sign, send its material specifications when you have them. Photos help explain the job, but phone cameras adjust exposure and can't reliably show exact brightness or color. For faces that change between day and night, see day-and-night channel letters.
Give Halo Letters a Realistic Test
With halo-lit letters, the building surface becomes part of the effect. A smooth white wall reflects light differently from dark brick, and the mounting distance changes how the halo spreads.
Tell us the wall color, the texture, and the planned spacing behind the letters. If a sample is needed, view it against a similar surface so you and your customer get a more useful preview. Our article on reverse halo letters covers standoffs and depth.
What a Light Meter Adds
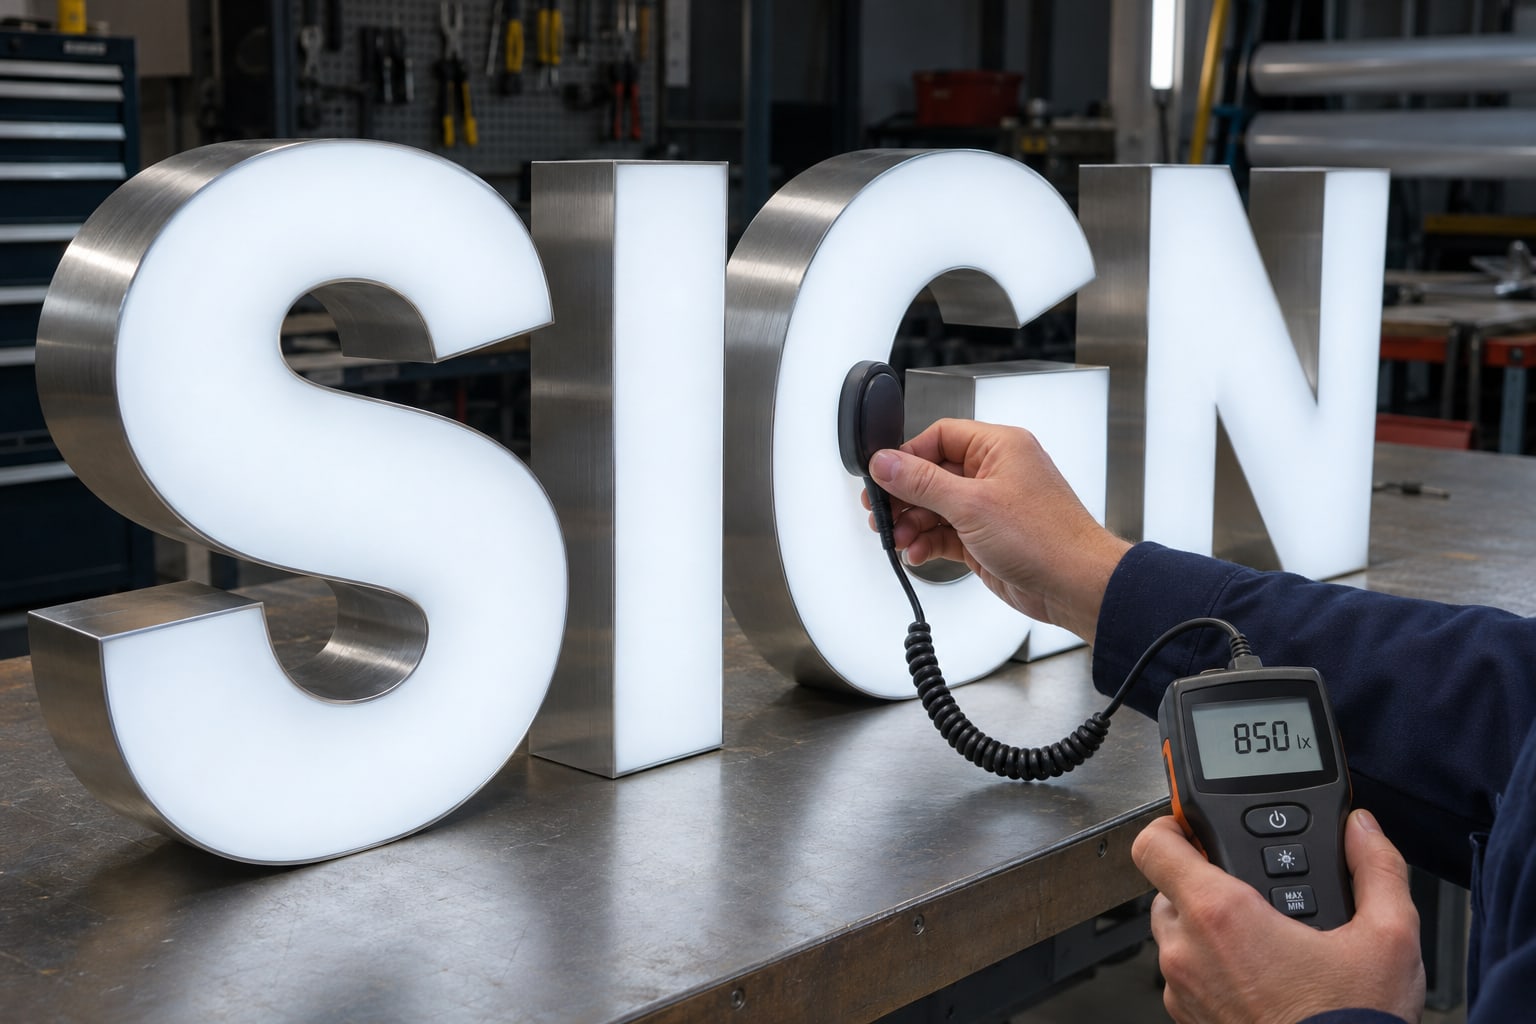
Your eyes are still the final judge of how a sign looks, but a light meter gives the conversation a useful reference point. Instead of relying on "this seems dimmer," you can record readings and compare them with an approved sample or an earlier installation.
Choose the instrument for the question you're asking. A luminance meter measures the light coming from the letter face, usually in candelas per square meter, also called nits. That's the right measurement for comparing or specifying face brightness. A lux meter measures light falling onto a surface. It's useful for checking ambient light and for controlled comparisons, but a lux reading isn't a direct measurement of face luminance.
For sign companies, the practical advantages are these:
- You can approve a sample against a measurable reference, then keep its readings with the material and lighting specifications for repeat orders.
- You can compare several points across the letters to find areas that need a closer look.
- Readings taken when a sign is new give you a baseline for investigating changes later.
- Measurements give you something concrete to discuss with the customer, alongside a visual inspection.
Keep the method consistent: the same instrument, viewing position, angle, test points, and dimming setting. Record the ambient conditions and let the LEDs stabilize first. With a luminance meter, keep the measurement area inside the illuminated stroke so the wall around it doesn't skew the comparison.
A meter won't judge the lettering, the color, or the overall halo effect for you. Use it alongside a careful visual check, ideally under conditions that resemble the installation.
How to Use a Light Meter, Step by Step
For routine shop checks, a lux meter can help you compare letters made with the same materials and lighting. Treat the results as readings from your own test setup, not a universal brightness rating. If you need to specify face brightness in nits, use a luminance meter instead.
Step 1: Set Up the Meter
Choose lux (lx) or foot-candles (fc) on the meter and use the same units for the whole job. One foot-candle is about 10.764 lux. Check the meter's calibration status, its range, and any zeroing instructions in the manual. Select an LED or source-correction setting only if the manufacturer provides one for your light source. Many meters have no color-temperature setting, and choosing warm or cool white doesn't guarantee accuracy, especially with colored LEDs.
Step 2: Control the Test Conditions
Test with the finished face and graphics installed, in a dim room with steady background lighting. Use the intended supply voltage and dimming level, and let the LEDs settle to a stable output. Keep your hands and body from shading the sensor. Record the ambient reading with the sign off, and ideally keep it small compared with the sign-on reading.
Step 3: Fix the Sensor Position
For lux comparisons, point the sensing surface at the letter face, parallel to it. Use a simple jig to hold the sensor at a repeatable distance, for example 2 inches from the face, measured from the sensor's receiving surface. That's a suggested shop setup, not an industry standard. Don't switch between contact readings and stand-off readings. Contact testing only makes sense when the meter and your written procedure support it.
A lux sensor collects light from an area, so a close reading can change with stroke width, nearby edges, and letter shape. Compare similar positions and constructions, because an E and an S can read differently even when their faces look equally bright. For direct face-luminance measurements, follow the luminance meter's focusing and distance instructions and keep its whole measurement spot inside the illuminated stroke.
Step 4: Map the Letter and Record the Readings
Mark test points on a drawing: the centers of broad strokes, narrow sections, corners, and positions in front of and between modules. Use the same points on repeat orders. Record the letter, the point, the reading, the sensor distance, the meter model, the face material, the LED type, and the dimming setting. Note any visible hot spots next to the numbers, since a lux meter may average light from several areas and miss a small bright dot.
Step 5: Compare With the Approved Sample
Record the minimum, maximum, and average readings from your chosen points. For example, 800 lux at the lowest point and 1,000 lux at the highest gives a minimum-to-maximum ratio of 0.80, or 80 percent. That describes this test only and isn't a universal pass mark. Agree on the acceptable variation using an approved sample and a consistent method, and compare matching face colors separately.
Step 6: Investigate and Test Again
For bright dots or dark gaps, check the spacing, the letter depth, the face diffusion, and the interior finish. If a whole letter is dim, check the connections, the power-supply loading, and the voltage at the modules under load against the component specifications. Use a qualified technician for electrical checks. After any correction, repeat the same measurements and keep the final readings with the job record.
Before shipment or final approval, step back and look at the complete set from a realistic viewing distance. The readings should support what you see: clear lettering and a consistent nighttime appearance.
Agree on the Result Before Production
There's no single brightness number that suits every channel letter sign. If your project calls for a numerical target, agree on the units and the measurement procedure before ordering. If the customer wants adjustable brightness, ask about compatible dimming when you request the quote.
When you send an order, include the letter dimensions, face materials, illumination style, installation photos, and anything the finished sign has to match. At Wholesale Sign Pro, that information helps us build toward the appearance you've promised your customer, and it gives you a clearer basis for approval when the lights come on. Our wholesale channel letter ordering checklist lists the details that matter most.
Wholesale Sign Pro manufactures channel letters for sign companies across the United States and Canada. Request a quote and tell us what the sign needs to achieve.
Channel Letter Brightness FAQ
Should I use a lux meter or a luminance meter for channel letters?
A luminance meter measures the light coming from the letter face, in candelas per square meter (nits), so it's the right tool for comparing or specifying face brightness. A lux meter measures light falling onto a surface. It's useful for controlled shop comparisons and ambient light checks, but a lux reading isn't a direct measure of face luminance.
Is there one brightness number that every channel letter sign should meet?
No. If a project calls for a numerical target, agree on the units and the measurement procedure before ordering, and compare against an approved sample.
Will adding more LEDs make the letters look better?
Not automatically. Letter depth, stroke width, module optics, and LED placement all affect the result, and extra LEDs don't solve a distribution problem. The aim is a smooth, consistent appearance across the whole name.
Can I judge brightness from a photo?
Photos help explain a job, but phone cameras adjust exposure, so they can't reliably show exact brightness or color. Use a sample or measured readings for approval.