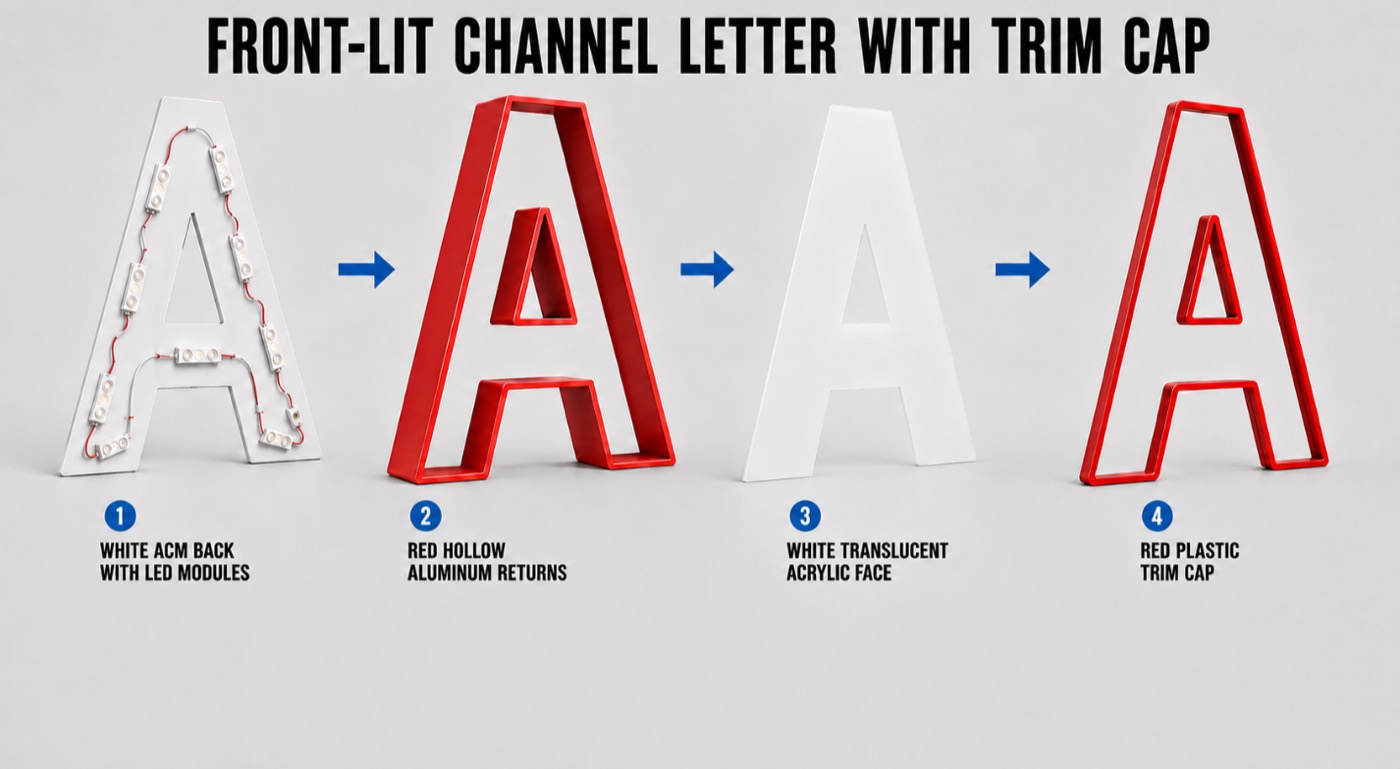

“Which LED should we use?” sounds like a simple question, but the answer changes with letter depth, face material, return color, climate, and the brightness the customer expects. A lumen number on a module data sheet does not tell you how the finished letter will look. This is the process we use to choose the modules and check the completed set before it leaves the shop.
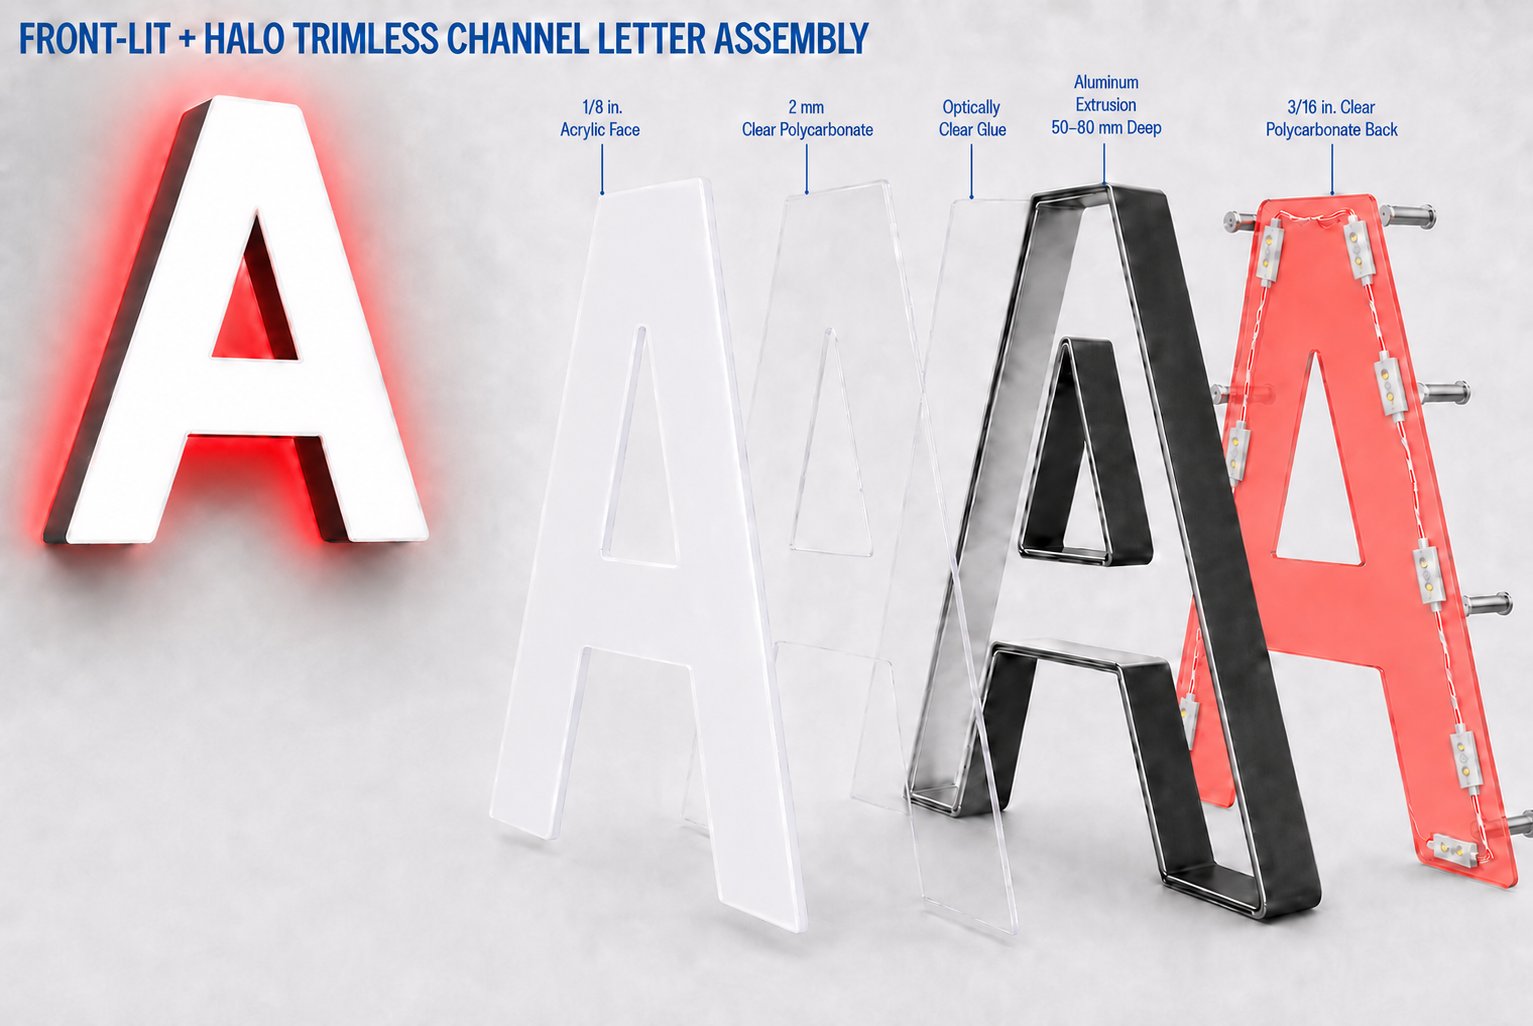
1. Match the LED to the Letter Type
This is the starting point on every order we quote:
| Channel-Letter Type | Recommended LED |
|---|---|
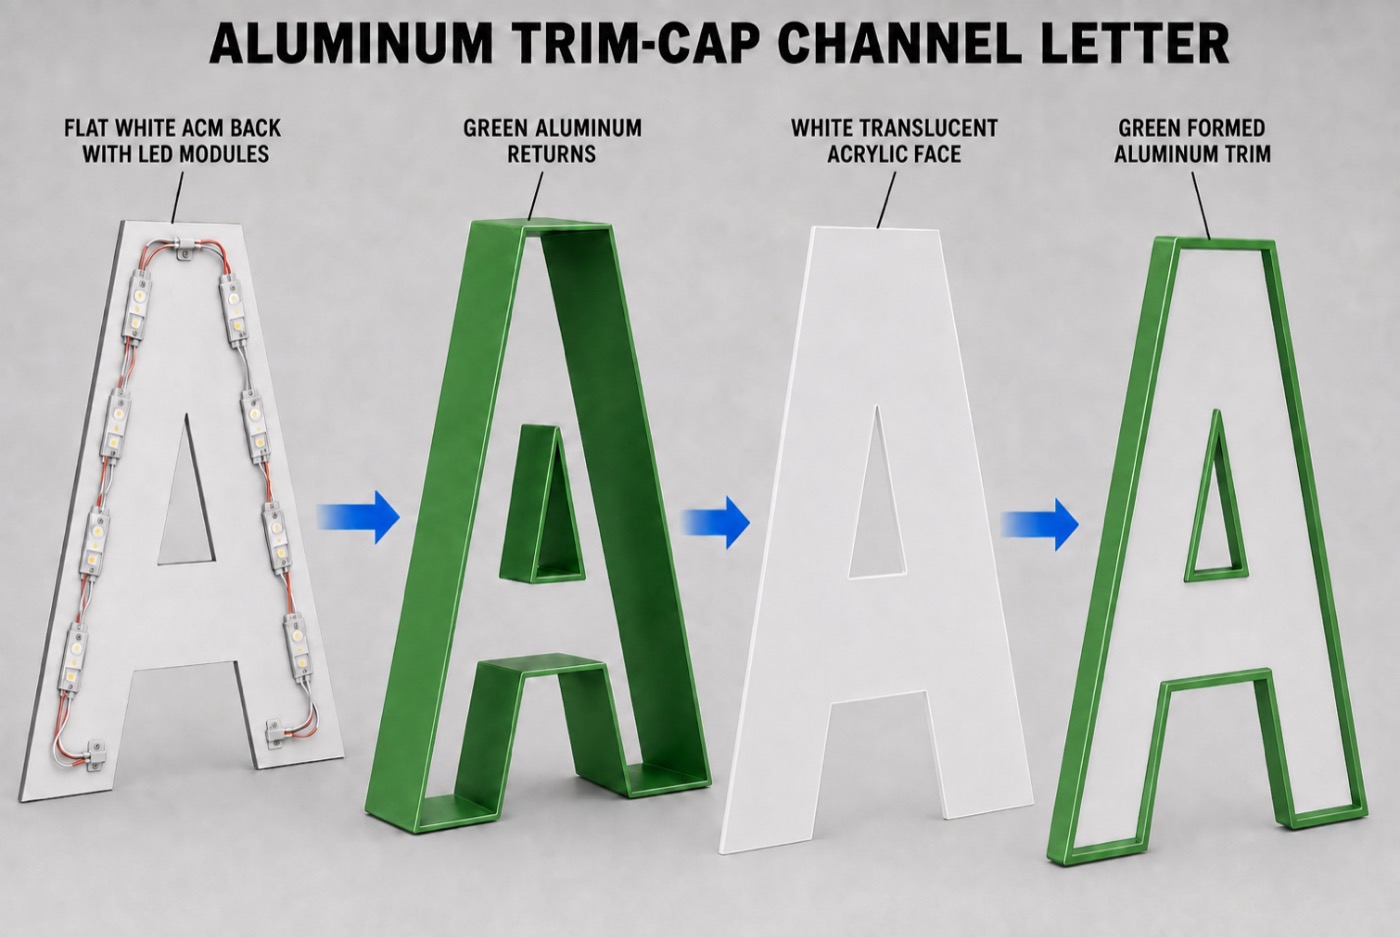
| Standard front-lit | Wide-angle LED modules |
| Shallow or small letters | Compact, low-profile modules with wide optics |
| Deep or oversized letters | Higher-output modules at wider spacing |
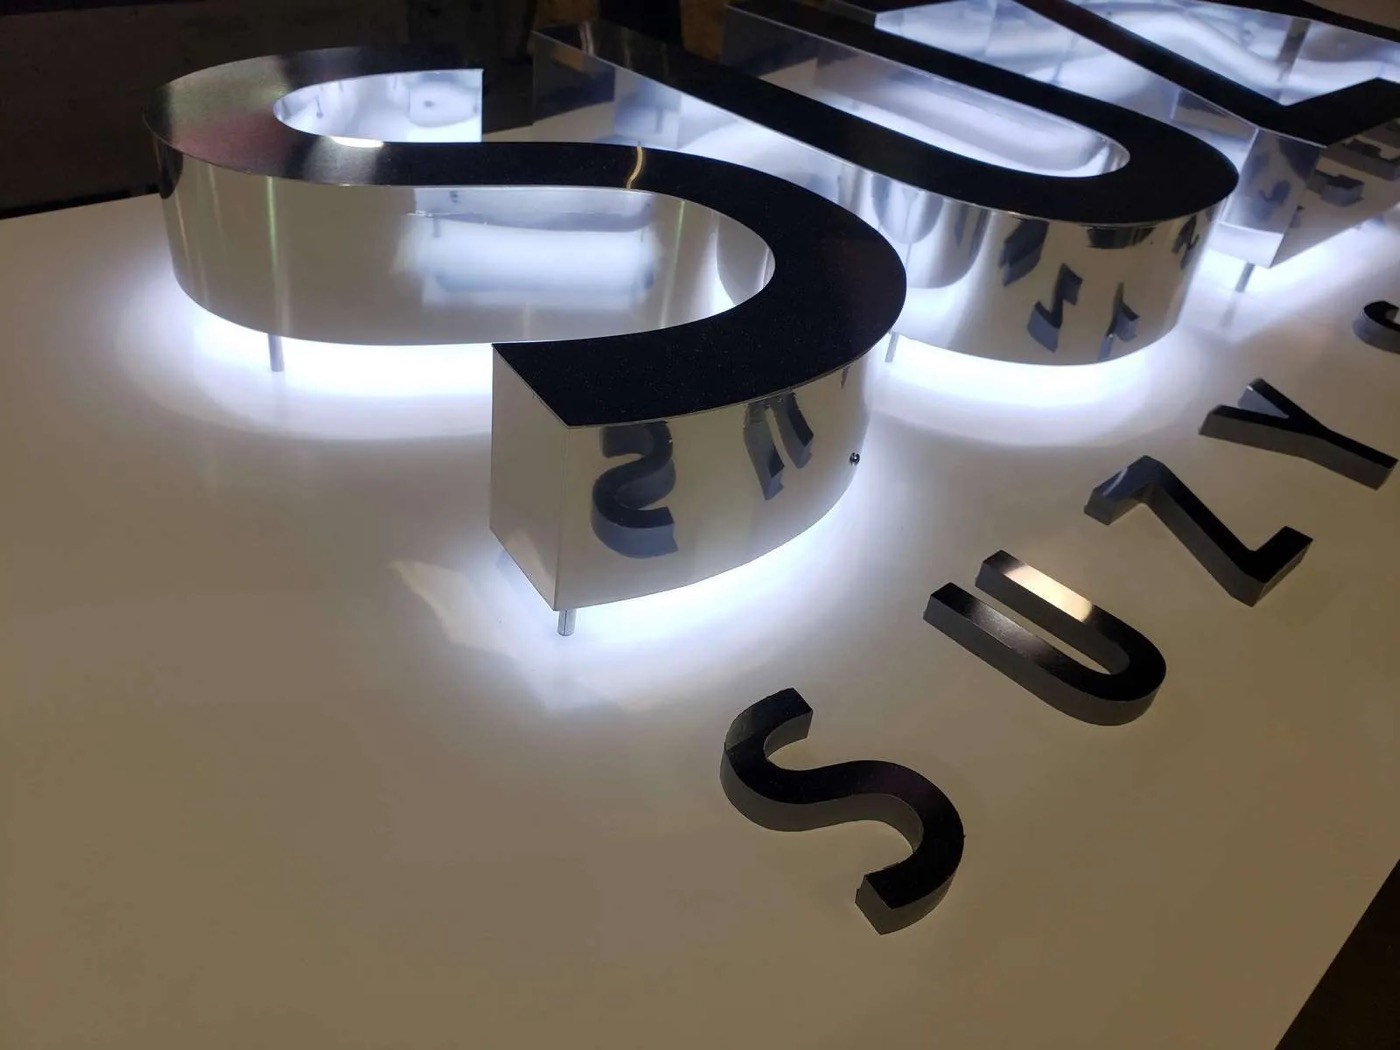
| Reverse/halo-lit | Low- to medium-output modules for a smooth halo |
| Front-and-back-lit | Separate LED circuits for the face and halo |
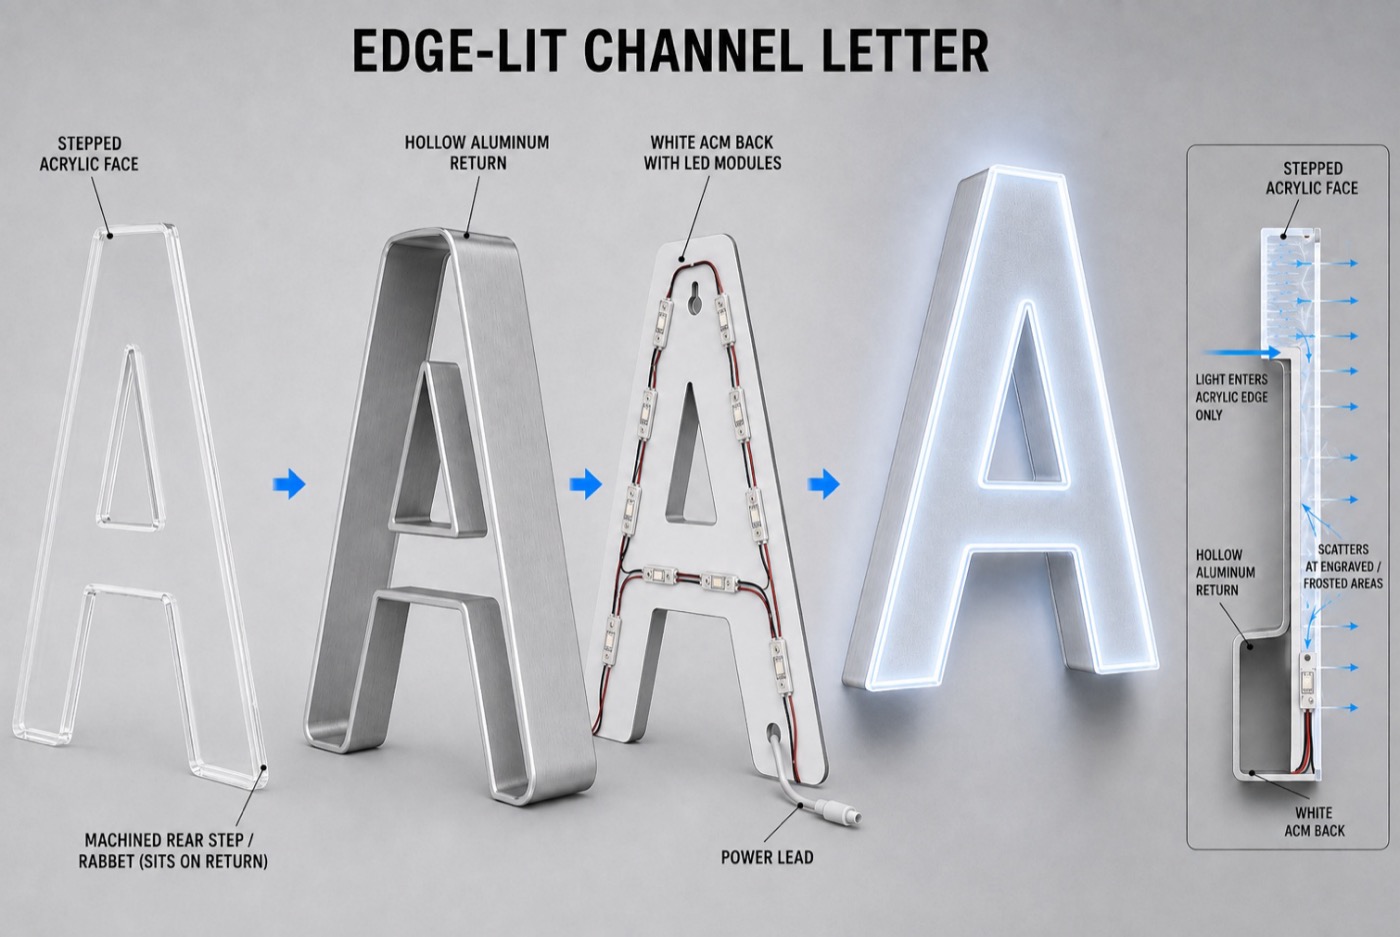
| Side-lit or edge-lit | Modules or LED strips designed specifically for edge illumination |
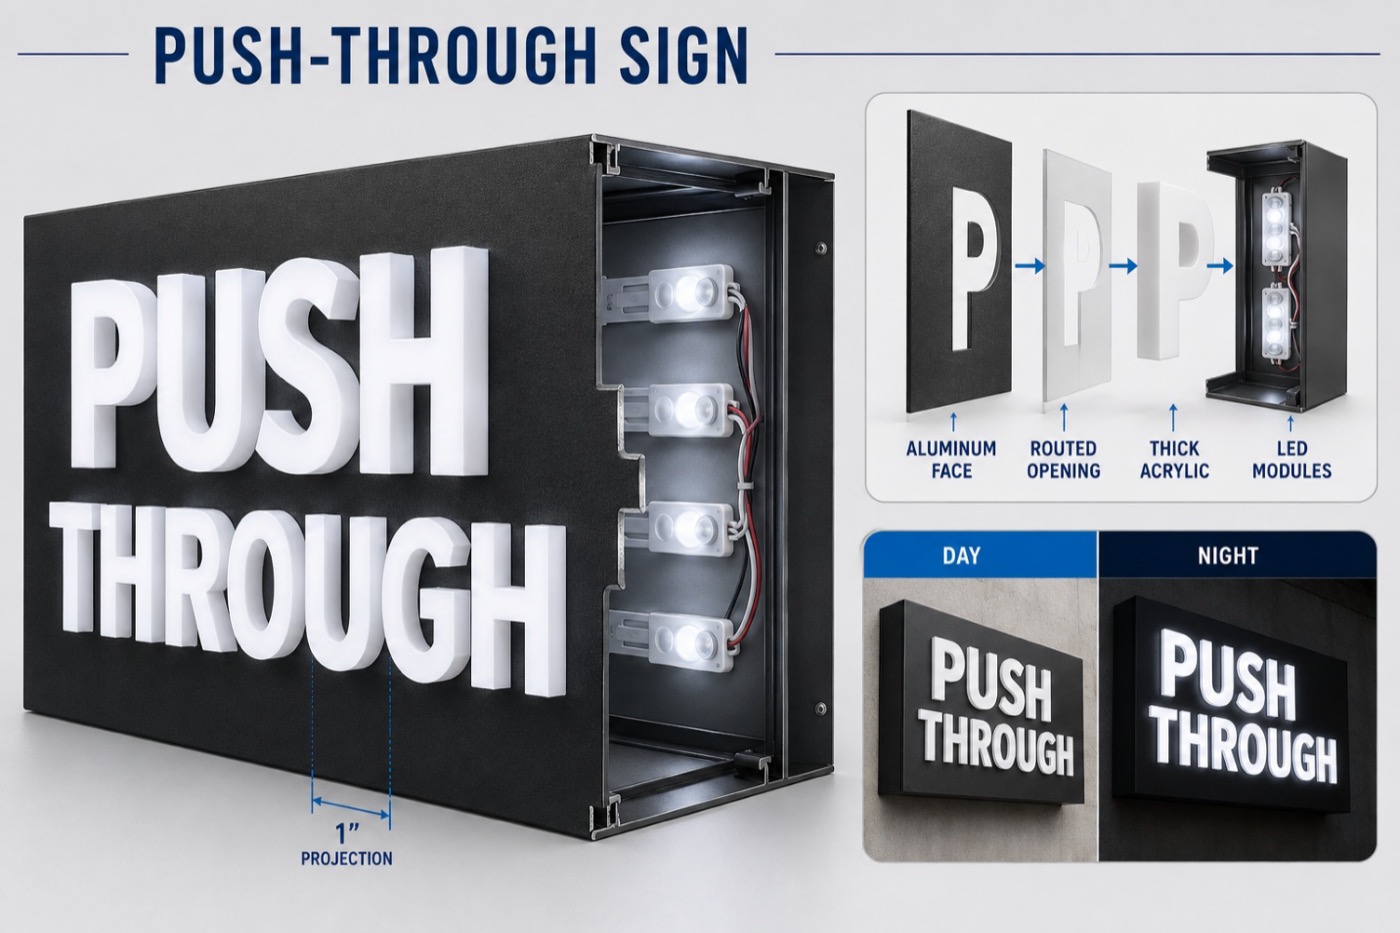
| Day-and-night faces | Higher-output modules, tested behind the actual perforated film |
| Open-face letters | Outdoor-rated LED neon or exposed-lighting products |
2. Consider Letter Depth
Depth is the next variable we check on your drawing:
- 2–3 in. deep: Use LEDs designed for shallow cabinets, normally with very wide optical lenses.
- 3–5 in. deep: Standard wide-angle modules usually provide good coverage.
- Over 5 in. deep: Higher-output modules may be used at wider spacing, but the layout should still be tested.
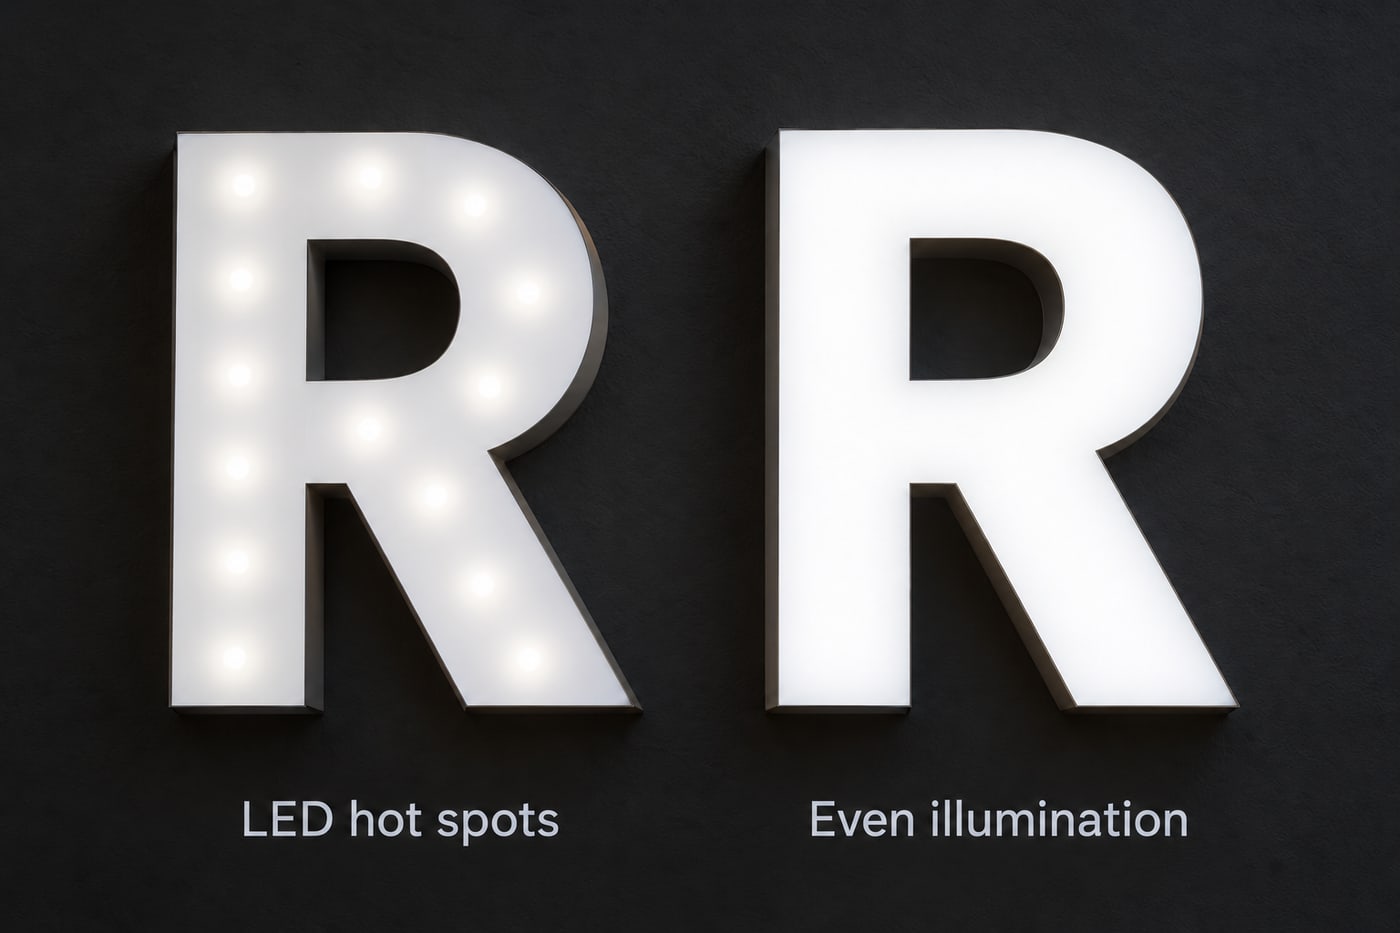
Letter depth, return reflectivity, and LED spacing work together. More modules do not automatically produce better illumination — excessive modules can create bright spots and unnecessary heat. If you're already seeing them, see How to Eliminate LED Hot Spots in Channel Letters.
3. Select the Color Temperature
Color temperature is often where your customer's brand drives the decision:
- 3,000–3,500K: Warm white; suited to hospitality, restaurants, and premium interiors.
- 4,000–4,500K: Neutral white; clean and balanced.
- 6,000–7,000K: Cool white; commonly used for bright commercial channel letters.
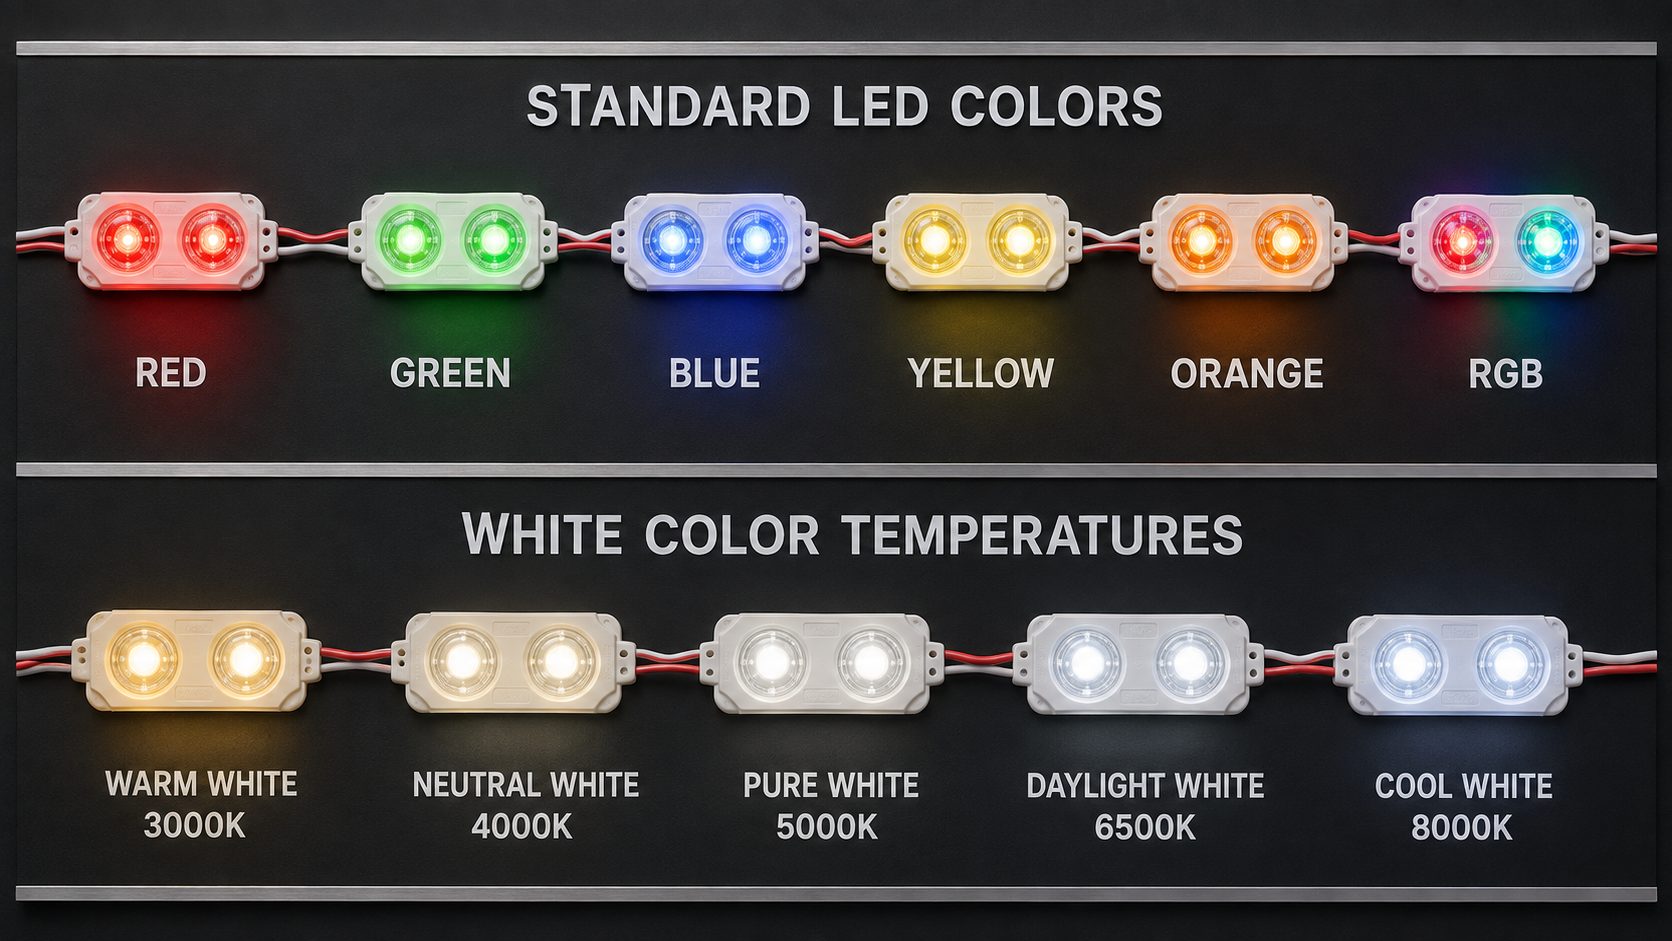
For colored acrylic faces, we choose LEDs that reproduce the intended color accurately. Red faces generally perform best with red LEDs, especially when strong saturation is required. We always test specialty vinyl, printed graphics, and day/night film before running production.
4. Check Brightness and Uniformity
We evaluate the complete illuminated letter for every job — not only the LED's lumen rating. Important factors include:
- Module output and optical beam angle
- Module spacing and distance from the face
- Acrylic color, thickness, and light transmission
- Letter stroke width and depth
- White, reflective interior surfaces
- Shadows caused by wiring, fasteners, or internal supports
A sample letter or illumination test box is strongly recommended for new face materials and unusual depths. (See "How We Test LED Brightness and Uniformity Before Shipping" below for the full letter-by-letter procedure we run once production is complete.)
5. Use Suitable Outdoor Ratings
Tell us it's an exterior job and we'll spec modules with:
- UL or recognized sign-component certification
- IP65, IP67, or appropriate environmental protection
- UV-resistant housings and lenses
- Corrosion-resistant components
- A dependable manufacturer's warranty
The module, wiring, connectors, and power supply all need to be suitable for the installation environment — flag your certification requirements (UL, cUL, or CSA) when you request a quote, and we'll build to that spec. See our guides to UL requirements for illuminated signs and CSA requirements for illuminated signs for the certification side of this.
6. Size the Power Supply Correctly
We calculate total module wattage on every layout:
Number of modules × watts per module = connected LED load
We avoid operating a power supply continuously at its maximum rating. Our design target is approximately 80% of rated capacity, subject to the power supply manufacturer's instructions and applicable electrical requirements. For example, a 60W supply should generally carry no more than about 48W using the 80% guideline.
Also confirm:
- Correct LED voltage — commonly 12VDC or 24VDC
- Maximum modules permitted per electrical run
- Wire size and voltage drop
- Proper power supply ventilation
- Required number of circuits and Class 2 limitations
7. Compare Efficiency and Service Life
We look beyond the module's purchase price, and recommend you do the same when comparing suppliers. Compare:
- Lumens per watt
- Modules required per letter
- Installation time
- Expected life and lumen maintenance
- Warranty terms
- Replacement availability
- Consistency between production batches
A higher-quality module may lower total cost by reducing module count, labor, power consumption, and future service calls.
Our Recommended Selection Process
This is the sequence we follow on every order, and recommend you use it when you're evaluating options with any supplier: choose the face material and letter depth first, then review the LED manufacturer's layout chart. Build a sample using the actual acrylic, returns, interior finish, and spacing. Inspect it illuminated in both daylight and darkness before approving the production layout.
The best LED is the one that produces smooth, appropriate illumination with the fewest practical modules — while remaining electrically compliant, weather-resistant, and easy to service. For more on how face material affects that outcome, see Polycarbonate vs. Acrylic for Channel Letter Faces and Materials Used to Make Channel Letters.
How We Test LED Brightness and Uniformity Before Shipping
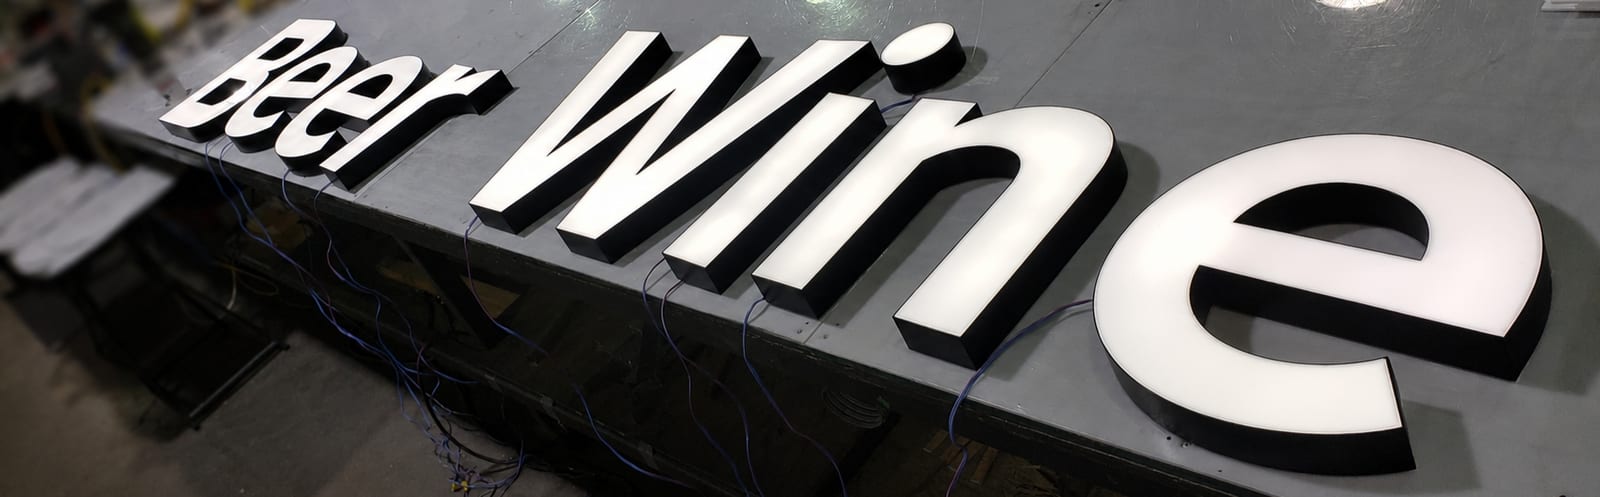
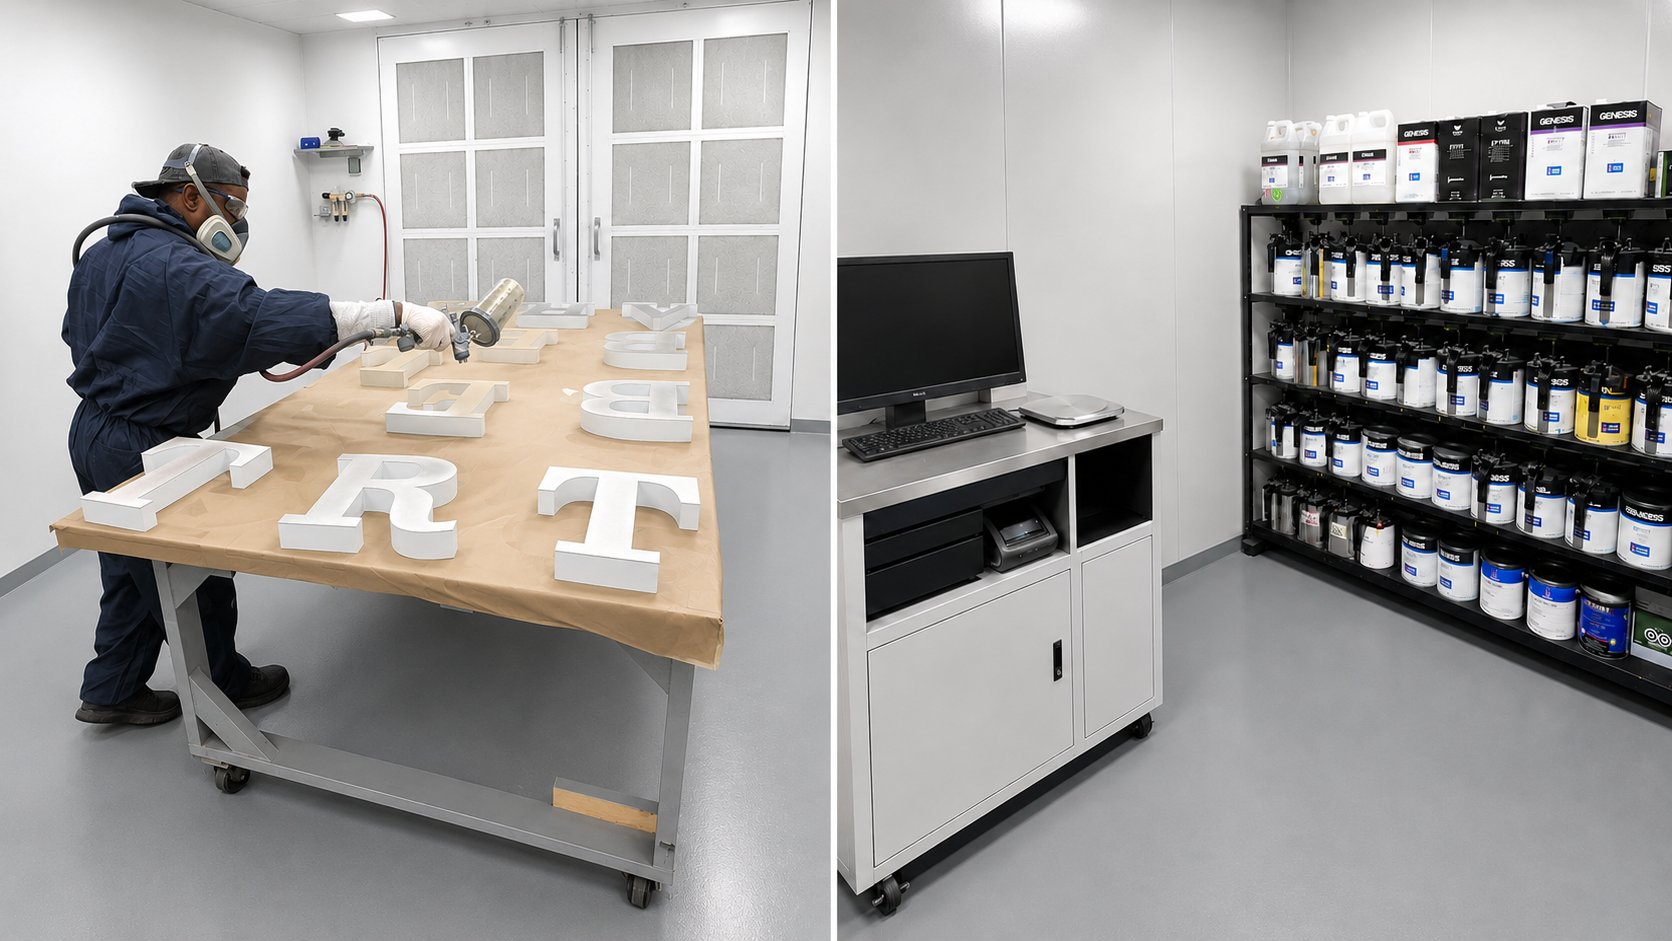
Choosing the right module is only half the job. Every letter that comes out of our production facility is tested under controlled conditions before it's packaged or installed — not just checked against the LED module's spec sheet. Here's exactly how we do it, so you know what's already been verified before a set reaches you.
1. Prepare the Letter Correctly
- Install the actual acrylic face, vinyl, and trim.
- Use the specified LED modules, spacing, and power supply.
- Paint or finish the interior as it will be delivered.
- Operate the LEDs for 20–30 minutes before testing.
- Test all letters at the same input voltage.
2. Perform a Visual Uniformity Test
Place the letters in a darkened area and inspect them directly from the normal viewing distance. Look for:
- Bright and dark spots
- Visible individual LED modules
- Dark corners or narrow strokes
- Shadows from wires and fasteners
- Uneven illumination between letters
- Color differences between modules
- Light leakage around the face or returns
Also photograph the letters using the same manual camera settings. Automatic exposure can conceal brightness differences.
3. Measure Brightness with a Light Meter
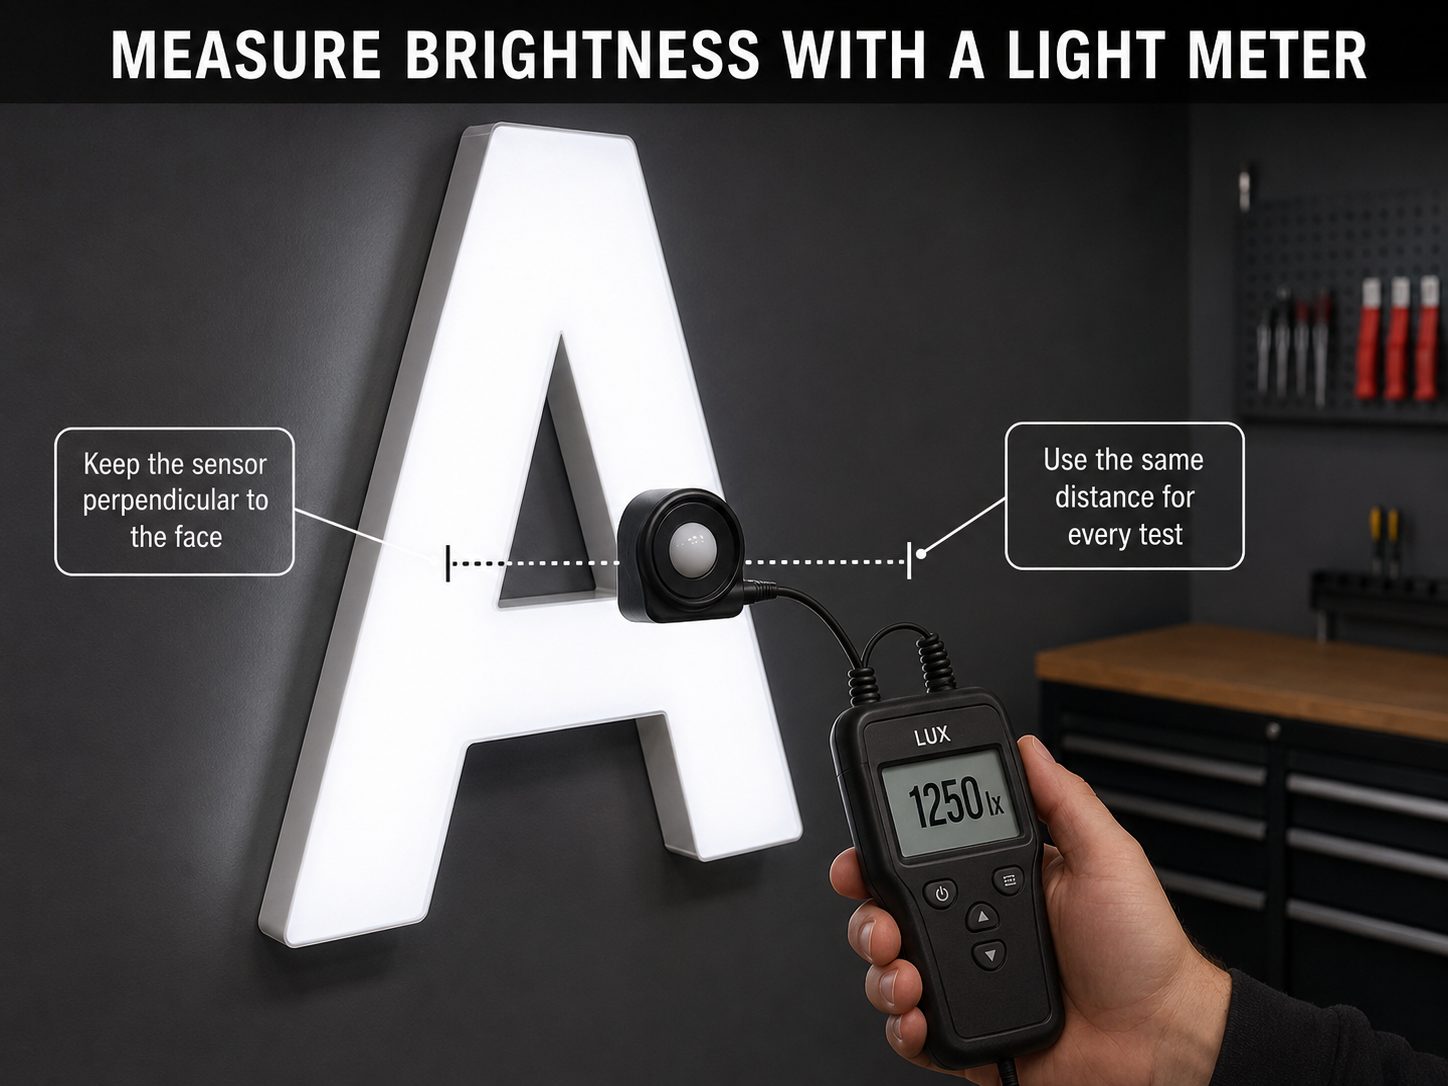
Use a calibrated lux meter for comparative production testing, or a luminance meter for a more accurate reading of the illuminated face. Keep the sensor perpendicular to the face and use the same distance for every reading, so results are comparable letter to letter. Create a measurement grid across each letter:
- Small letters: approximately 5–9 test points
- Large letters and logos: points every 6–12 inches
- Include the center, corners, narrow strokes, and areas between modules
Record the minimum, maximum, and average readings. A useful uniformity calculation is:
Uniformity Ratio = (Minimum Reading ÷ Average Reading) × 100
For example: a minimum reading of 720 and an average reading of 900 gives 720 ÷ 900 = 80% uniformity.
There is no universal brightness target for every channel letter. Establish an approved sample and use its readings as the production standard.
4. Compare Every Letter in the Sign
Checking one letter is insufficient. Place the complete sign together and confirm that:
- All letters appear equally bright
- Identical letters have similar readings
- Red, blue, and white faces match the approved appearance
- Front and halo illumination are properly balanced
- Replacement modules do not create color or brightness differences
For multi-location programs, keep a documented "golden sample" with approved LED spacing, face material, brightness readings, and photographs.
5. Check the Electrical Performance
Measure:
- Power-supply output voltage
- Voltage at the first and last module
- Total current and connected wattage
- Voltage drop across long wire runs
- Power-supply loading
- Polarity and connection quality
Low voltage at the end of a circuit can cause dim modules and color variation. Do not exceed the LED manufacturer's maximum modules per run.
6. Inspect Daylight and Nighttime Performance
A letter can appear uniform in a completely dark room but show problems under actual conditions. Check it:
- In ambient daylight
- At dusk
- In full darkness
- From the intended viewing distance
- Straight on and from practical side angles
Day/night perforated faces require special testing because the film reduces light transmission and may reveal hot spots.
7. Check Conformity and Compliance
Verify that production matches the approved specifications:
- Correct LED brand, model, color, and Kelvin rating
- Correct module spacing and quantity
- Approved power-supply model
- Outdoor-rated modules and connectors
- Proper wire size, grounding, and enclosure
- Required UL, cUL, or CSA-recognized components
- Identification and electrical labels
- Installation according to the component manufacturer's instructions
Our Acceptance Checklist
We only release a letter to packaging when:
- No individual LED modules are visible
- No objectionable bright or dark areas are present
- Color is consistent throughout the sign
- Measured readings fall within the company's approved tolerance
- Voltage and current are within specifications
- The power supply is not overloaded
- Construction matches the approved drawing and component list
Everything above is part of how Wholesale Sign Pro manufactures channel letters — including trimless and other premium constructions — for sign companies across the United States and Canada. Tell us the letter type, depth, and finish on your next quote, and we'll spec, test, and ship a set that's ready to install.
Choosing the Right LEDs FAQ
How much power supply headroom should I leave when sizing a run?
Design to roughly 80% of the power supply's rated capacity rather than running it at maximum continuously, subject to the manufacturer's instructions and applicable electrical code. For example, a 60W supply should generally carry no more than about 48W of connected LED load.
Does adding more LED modules always produce a brighter, more even letter?
No. Letter depth, return reflectivity, and module spacing all work together — overloading a letter with extra modules can create visible hot spots and unnecessary heat instead of better illumination. The right module count depends on the specific face material and depth being tested.
What's the fastest way to confirm an LED choice before committing to a full production run?
Build a sample letter or illumination test box using the actual face material, returns, interior finish, and planned module spacing, then inspect it illuminated in both daylight and darkness. This is especially important for day-and-night faces, specialty vinyl, printed graphics, and any depth or face color not already proven on a prior job.
How long should LED modules run before testing brightness?
Operate the LEDs for 20–30 minutes before taking readings, and test all letters at the same input voltage. Modules can shift slightly in output as they reach normal operating temperature, so a cold reading isn't representative of how the letter performs once it's been running.
What is a good uniformity ratio for a channel letter?
There's no single universal target — establish an approved sample and use its readings as the production standard. As a reference, uniformity ratio is calculated as (minimum reading ÷ average reading) × 100; for example, a minimum of 720 and an average of 900 gives a ratio of 80%.